
Alex of Roam & Thrive is here to share her ultimate guide for hiking Torres del Paine in Chile!
As one of the most Southern National Parks in the world, Torres Del Paine is a place you’ll want to visit at least once in your life. Desolate, wild and unforgiving the Torres Del Paine is pure nature with scenery that will surprise, delight, and have you reaching for your camera again and again.
Here in Patagonia, you’ll experience a different world, one that you’ll never want to leave once it’s captivated you with its magic. Having lived in Chile for the last 5 years, I’ve visited the park twice now, once trekking and once experiencing the park as part of a road trip and I’d highly recommend the former.
Here’s the guide for how to make your trip to Torres Del Paine the best trip yet!
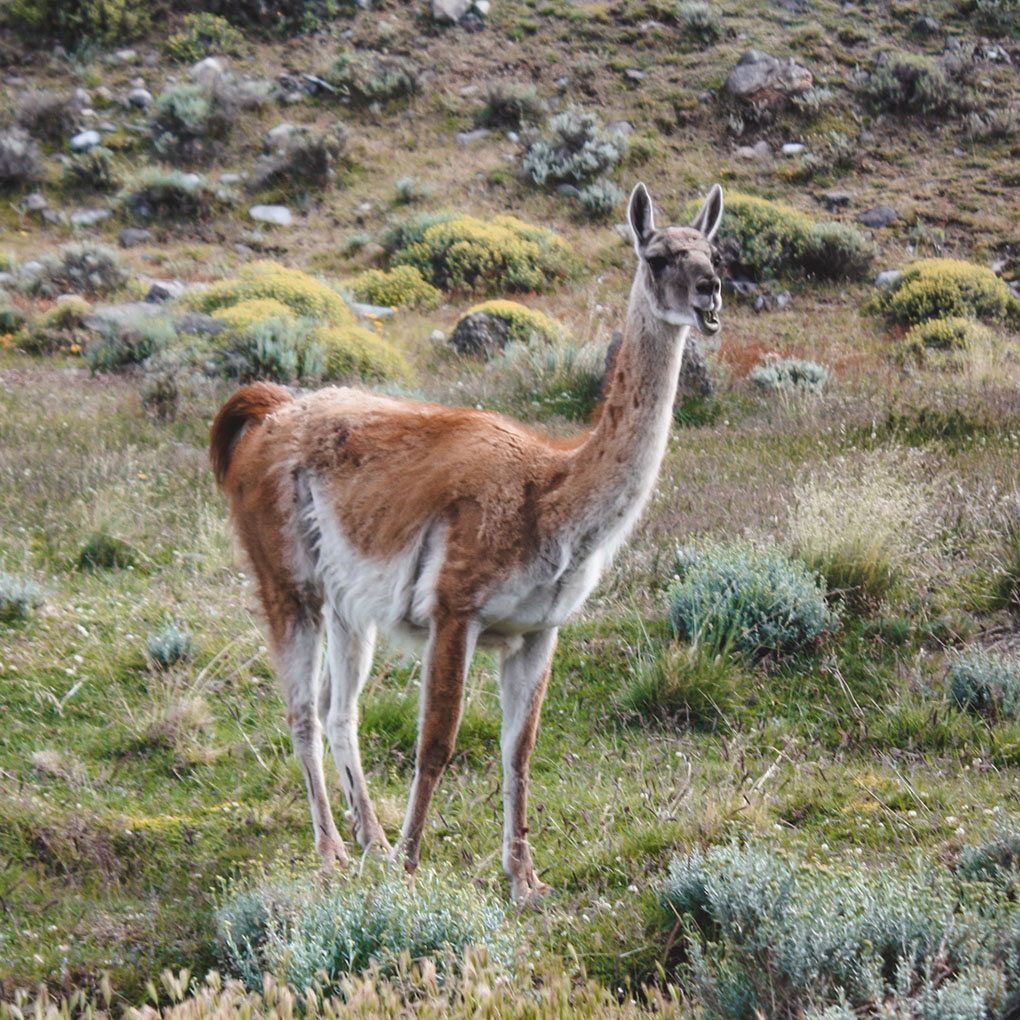

When to Visit + Seasonal Tips
Due to its extreme southern location, the Torres del Paine is a seasonal destination. Most people visit from December – February, during Chilean summer.
At this time, February especially, you can expect the park to be at its capacity with many people on the trails. The wind and rain can also be a problem in the park and the windiest and wettest months are January and March.
In my opinion, the best time to visit the park is at the beginning of December or at the beginning of March—most of the crowds have dispersed but it’s not yet too cold to not camp.
If you’re feeling brave, visiting in the winter (May-September) is also an option but you’ll have to stay in hotels rather than camp and be prepared for limited hours of daylight.
How to Visit + Get There
From Santiago, the easiest way to get to Patagonia is to fly to Puerto Natales, the town closest to Torres del Paine National Park. LATAM, Sky Airline and JET Smart all offer flights to Puerto Natales, but only in the summer. If you’re traveling in the low season you’ll have to fly to Punta Arenas, and from there take a bus to Puerto Natales. The ride takes about 3 hours.
If you’re arriving from El Calafate in Argentina, you can take a direct bus to Puerto Natales with a stop at the border.
From Puerto Natales, there are many bus companies that shuttle people to and from the park. The journey takes about 3 hours to get to the start of the trails and buses leave in the morning and then again in the afternoon. In high season it’s worth reserving your ticket as soon as you can.
Helpful Tip:
If you’re not planning on trekking or staying in the park for a number of nights, you can also rent a car in Puerto Natales and take day trips to the park. While you do miss some of the best views, driving the park is a great option and the views from the road are simply indescribable.
What to Bring
Outdoor & Waterproof Clothing
Whatever your itinerary you’ll need comfortable outdoor clothing for all seasons. You are more than likely to experience all four seasons in one day and it’s not unheard of for the temperature to fall to 40°F/5°C in the evenings in summer.
If you’re trekking, a good pair of already worn-in hiking boots are essential.
Camping Gear
If you’re doing the famous ‘O’ or ‘W’ treks and you choose to camp without having rented it out from the campsite, you’ll need all camping gear such as a tent, mattress, a winter sleeping bag, and cooking equipment. It’s worth having a high quality, waterproof tent as sometimes, the rain and wind are relentless.
If you don’t have your own camping gear but you still want to do some trekking, rental shops are available in Puerto Natales. Most gear rents for about $5 per item per day. You can also rent an already assembled tent, mattress, and sleep bag at the campsite and this can be booked when reserving accommodation.
Food
On the ‘O’ or ‘W’ treks, when you book them most campsites have a full board (breakfast, lunch, and dinner) or half board (lunch and dinner) option. Going for this will mean you’ll have to carry less weight and you get your meals cooked for you.
You can also bring all your own food and cooking equipment and prepare it all yourself. This is perfect for those with a lower budget and wants more of a wild camping experience. Make sure you plan all your meals ahead and buy all your food in Puerto Natales.
Other
Headlamp — for moving around after dark.
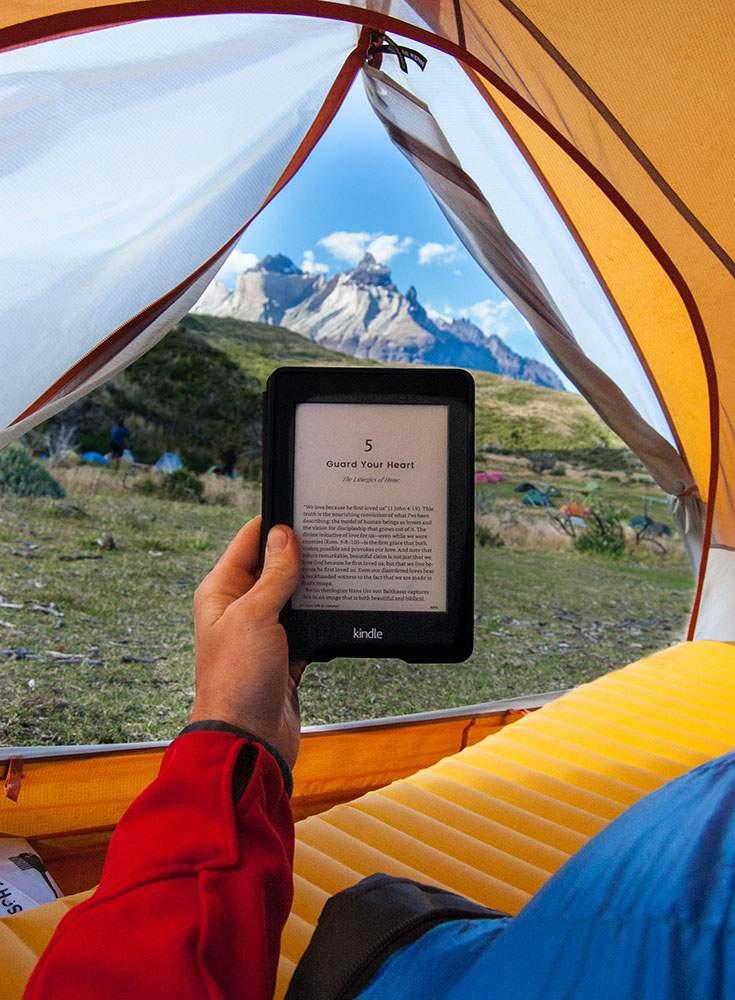
Kindle/Book, + Playing Cards — In the evenings there isn’t much to do so you’ll need to bring some entertainment. I’d highly recommend a Kindle- it’s lightweight and fits many titles onto it.
Small Padlock — On the ‘W’ or ‘O’ trek you’ll be leaving your tent unattended a few times, bring a small padlock so you can lock your stuff inside.
Reusable Water Bottle — There are water sources located at all the campsite so bring a reusable water bottle with you to avoid using plastic bottles.
Camera — Needless to say the Torres del Paine is extremely photogenic so don’t forget your camera- you’ll have it in your hand most of the time.
Itinerary Options
There isn’t one way to experience the Torres del Paine and there are non-trekking ways to see the park too. The most popular way to experience the park is by trekking the infamous ‘O’ or ‘W’, routes named after the shape of the trail they take.
Trekking the ‘W’ Circuit
The ‘W’ is the park’s most popular circuit and it can be trekked in either direction. It takes 4-5 days to complete and I’d highly recommend you assign a full 5 days to not feel rushed.
The trail has a ‘W’ or a pitchfork shape which means that you do have to double back on yourself often, however, due to this, there are sections that you can walk without your heavy backpack. On the ‘W’ you can expect to see stunning high passes with views for miles around the park, pristine lakes, glaciers, rugged granite peaks as well as a variety of local flora and fauna.
Trekking the ‘O’ Circuit
The ‘O’ Circuit consists of hiking the ‘W’ trail with a northern extension. It’s this extension, especially the steep John Gardner Pass that makes this trek longer and more difficult than the ‘W’ but absolutely worth the extra effort.
It takes about 7-9 days to complete and due to the lack of refugios in the Northern Side of the park you’ll have to camp, making camping gear essential for this trek.
As a result, this trek is definitely less crowded than the ‘W’ and the views from the John Gardner pass are simply incredible. Note that the ‘O’ should only be trekked in a counter-clockwise direction due to the steepness of the pass.
Sample Itinerary
This is my exact 5-day itinerary for what I did when I trekked the ‘W’. I chose to walk from west to east to get the most difficult part of the trek out of the way first. The West side is the steepest. You can also condense it and do it in 4-days if you’re pushed for time.
Day 1 – Puerto Natales – Pudeto – Paine Grande – Glacier Grey
Catch the 7/7.30am bus from Puerto Natales and get off at Pudeto ready to take the ferry across to Paine Grande. Prior to getting to Pudeto, you’ll pass through Laguna Amarga, the main park entrance. You’ll have to get off here to pay the park entrance fee.
Once in Pudeto board the ferry to Paine Grande. From Paine Grande, start walking to the Grey campsite. Once at the Grey campsite, check-in and set up camp for the night. For the rest of the afternoon, you can relax, walk around the lake and take in the views.
Day 2 – Glacier Grey Viewpoint – Grey Campsite – Paine Grande
Wake up early and start the day with the 1.5hr trek to the spectacular viewpoints of Glacier Grey. When you’ve finished admiring their beauty head back to Grey campsite, have lunch, pack up camp and trek back to Paine Grande. At Paine Grande check in to your campsite and set up camp again. Spend the day relaxing and resting.
Day 3 – Paine Grande – Mirador Frances – Mirador Britanico – Frances Campsite
After an early breakfast pack up camp and make your way towards Mirador Frances. To save you having to carry your backpack any further, stop at Italiano campsite and leave your big rucksack in their reception area. You can then continue on with a lighter pack.
We managed to get to Mirador Frances and continued to Mirador Britanico—however, if the weather isn’t good, people say there is no point as you can’t see anything. We had good weather so we did it and the views were stunning. From there make your way back to Italiano campsite, grab your rucksack and head back down to Frances campsite, set up camp and rest.
On this day you can choose to stay at either Italiano or Frances campsite depending on the distance you want to walk. If you prefer a slightly shorter day (2km shorter) you can stay at Italiano.
Day 4 – Frances – Los Cuernos – Chileno Campsite
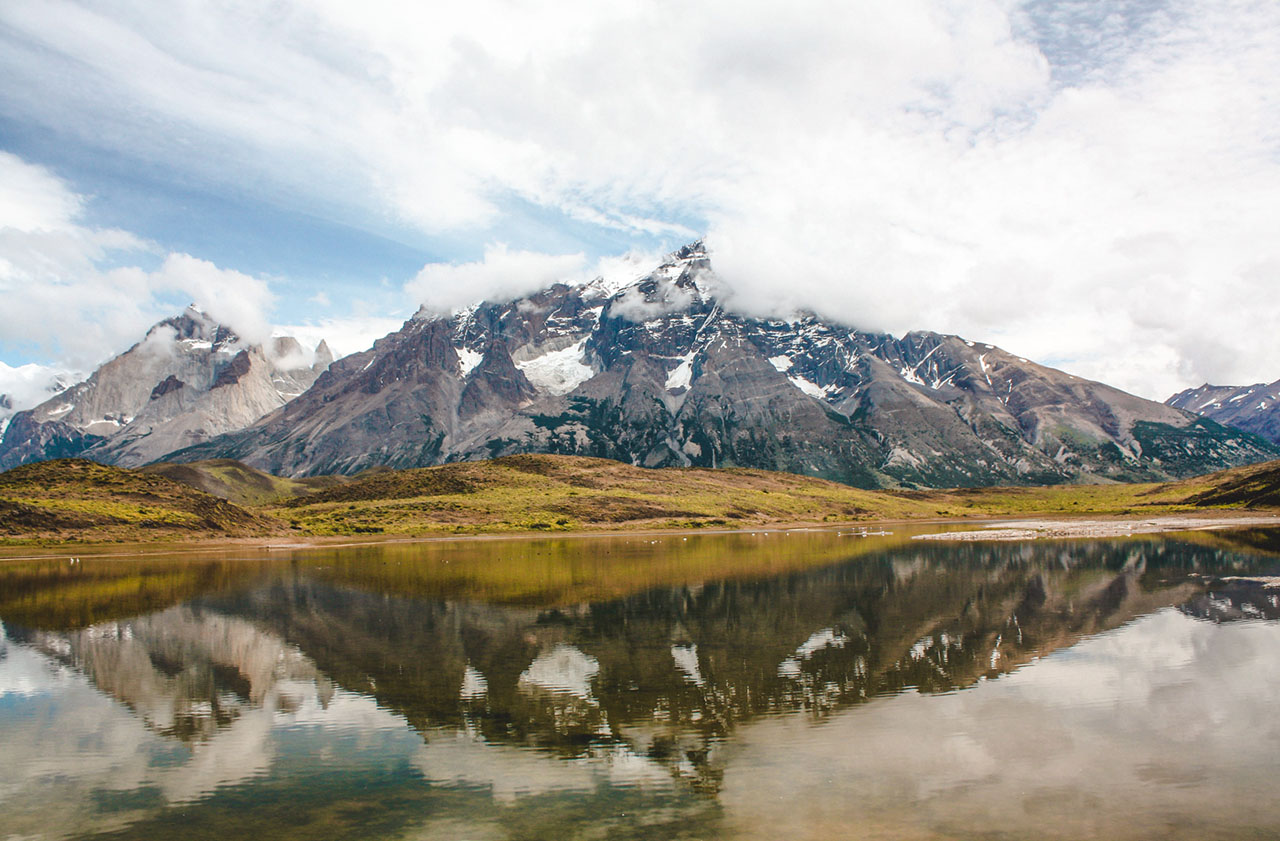
Pack up and leave Frances campsite in the early morning, making your way towards Los Cuernos, from where you can view and admire the expanse of Nordenskjold Lake. Continue along the side of the lake until you reach Chileno campsite. Check-in and set up camp. Spend the rest of the day relaxing and make sure to get an early night.
Day 5 – Chileno – Mirador Las Torres – Puerto Natales
Wake up before sunrise to start the trek to Mirador Las Torres, the most famous viewpoint in the park. The best time to see it is at sunrise. The trek takes about 2hrs 15 mins from Chileno campsite, so you’ll need to check the sunrise time and plan accordingly.
After taking in the amazing view of the sun lighting up the three jagged peaks and taking some photos, make you way back down to Chileno campsite. Have lunch and pack up your things and descend down to Hotel Las Torres. From here either catch the shuttle bus that goes to Laguna Amarga or walk. From Laguna Amarga take the bus back to Puerto Natales.
Where to Stay
Campsites
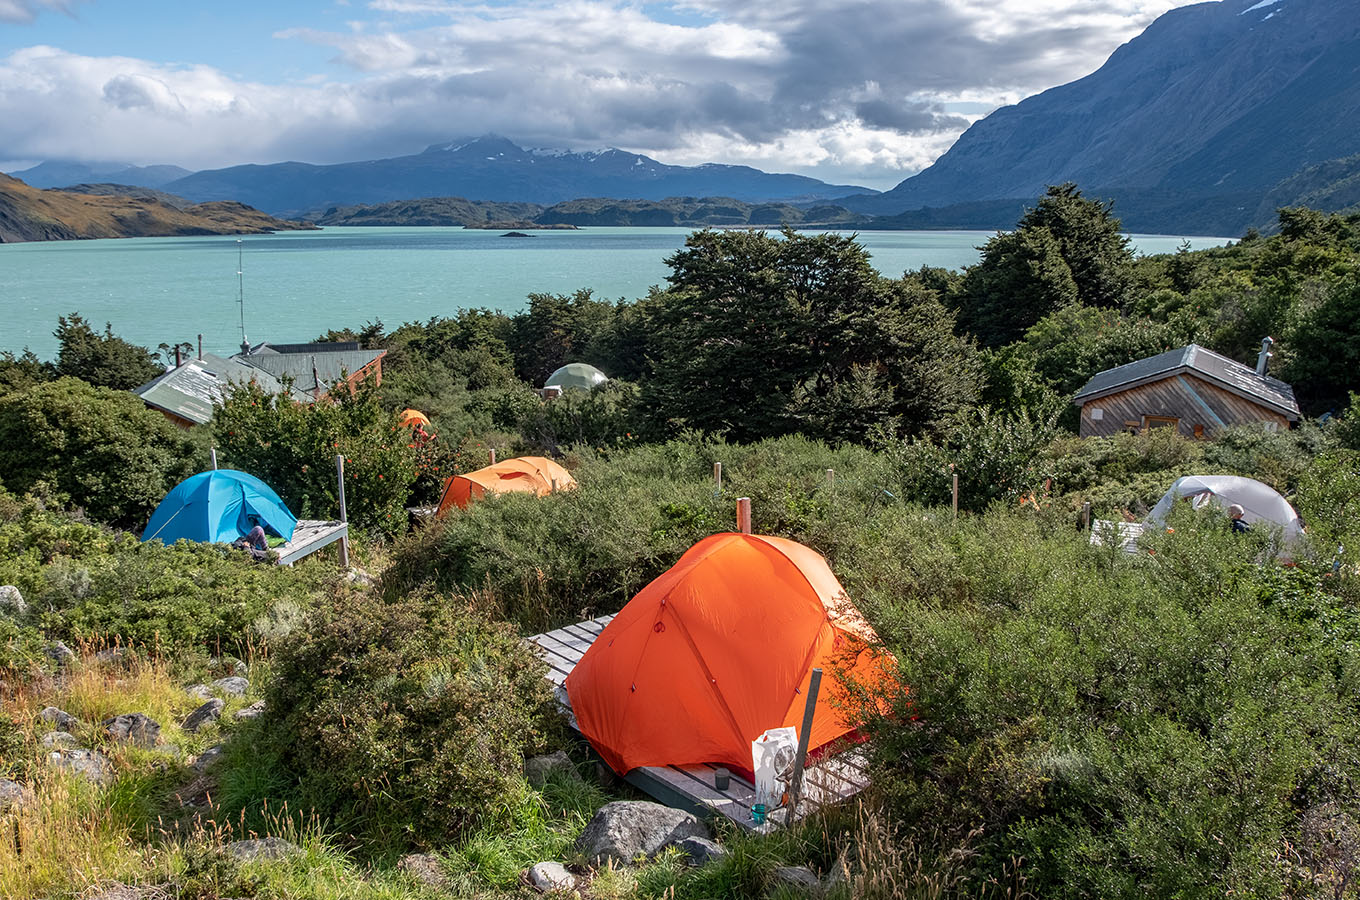
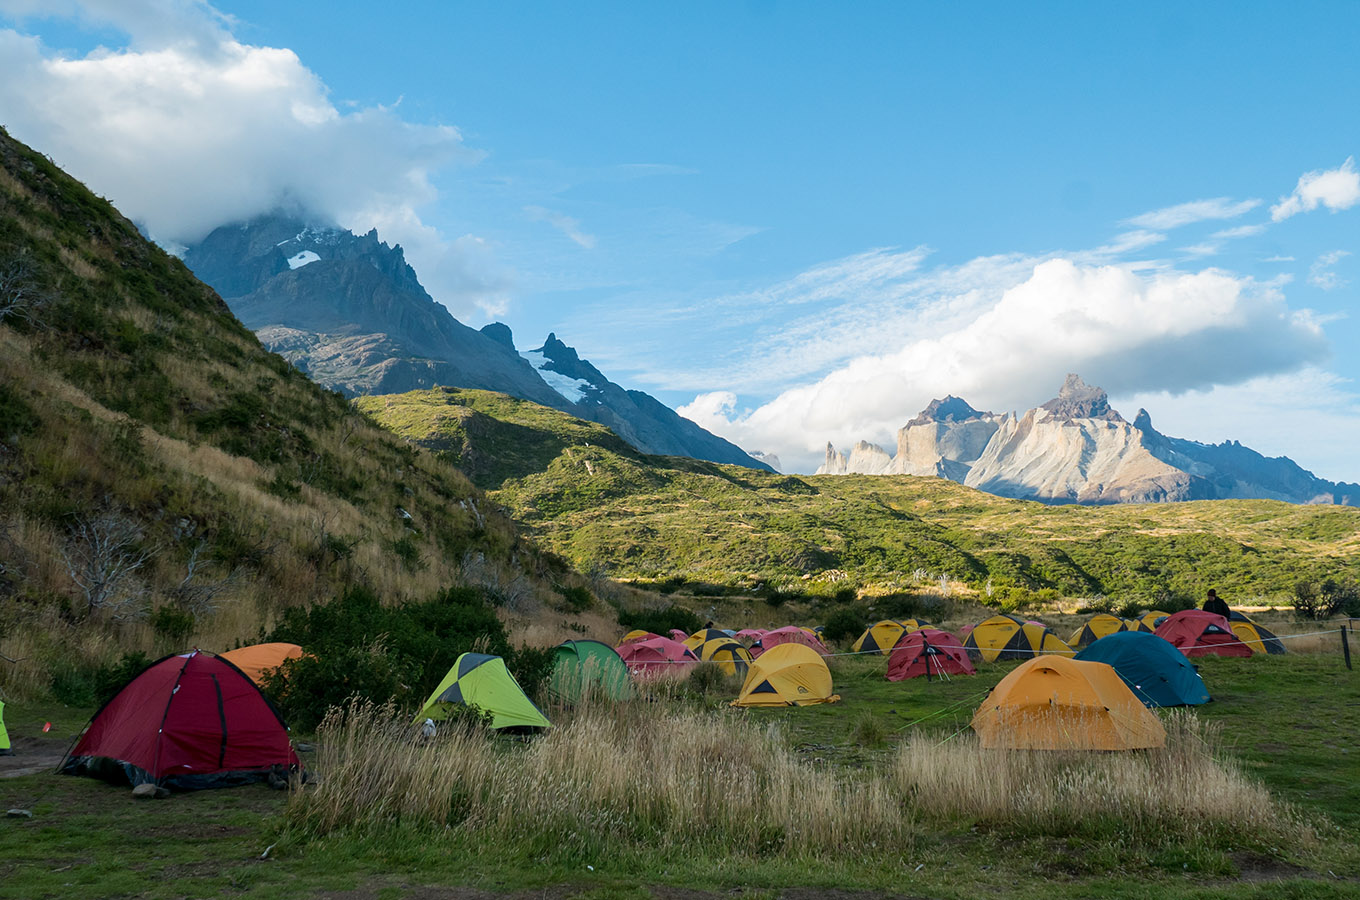
When trekking the ‘W’ or the ‘O’ you might choose to camp. Camping is the cheapest type of accommodation and ranges from $8-$20 a night depending on the campsite. Most campsites are equipped with bathrooms and showers and a restaurant where you can get meals for about $15-22 per dish.
If you don’t want to carry your own camping gear, everything can be rented from all the campsites except the free CONAF ones.
Tents are already assembled and you just have to set up your mattress and sleeping bag. It’s a great option for those not wanting to have to assemble camp after a full day’s trek.
Bear in mind that these tents have to be reserved in advance.
Refugios/Shelters
Another type of accommodation, perfect for those not wanting to camp or carry heavy camping gear with them. Refugios are basically beds in a shared cabin—exactly like a hostel dorm or sometimes in a private cabin.
The benefits of refugios are that they are warmer than tents and you’re protected from the elements a lot more.
Depending on the refugio, you can expect to pay between $60-80 per bed. If you’re planning to stay in them during high season, you’ll need to book them in advance and by in advance I mean 6 months or even more, in advance. It’s safe to say beds sell out extremely quickly.
Hotels
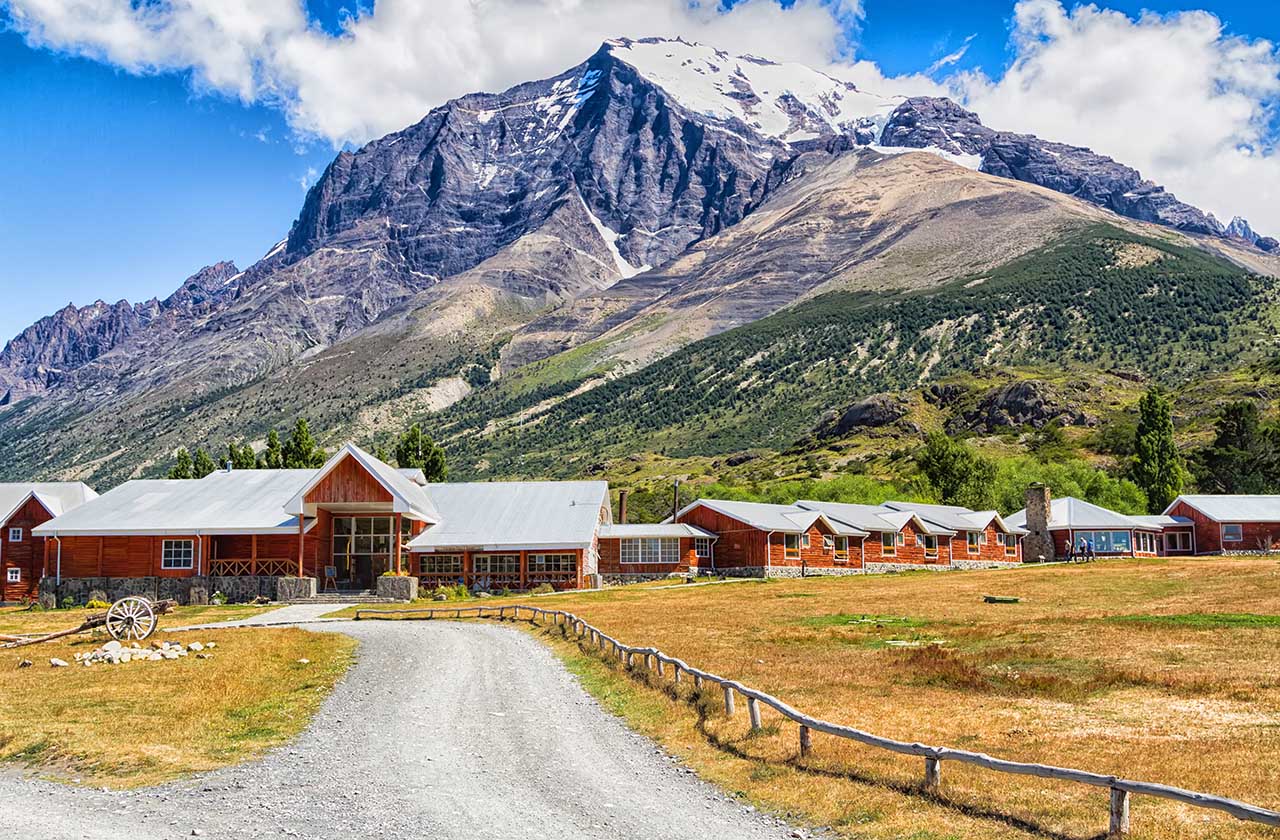
There are many hotels scattered around the park, most of them occupying beautiful locations in front of deep blue lakes and windswept valleys. They are mostly luxury hotels and a night can set you back about $300 in high season. A spa treatment, champagne breakfasts, and dips in their heated pools are great ways to celebrate the end of your trek.
How to Book Your Accommodation
If you’re planning to hike the ‘W’ or ‘O’ circuits, it’s crucial to make reservations in advance for camping spots and refugios.
Due to the growing popularity of the park, there simply aren’t enough campsites and space for everyone who wants to visit. It’s not uncommon for all campsites to be booked out completely for the summer trekking season (Jan/Feb) by the previous November.
There are three different companies that own all the campsites in the Torres Del Paine Park and it’s more than likely that you’ll have to reserve with them all. They are Fantastico Sur, Vertice Patagonia and CONAF. To reserve your accommodation you can do so directly from their websites.
First decide which way you’ll be walking the circuit, then plan your route and which campsites or refugios you’ll be staying in, and finally go on to each of the websites and reserve them all.
Here is a list of which companies own which campsites to make it easier for you to make your reservations. Only the CONAF campsites are free and basic. All the others have showers with hot water, toilets, cooking areas, cafeterias etc.
- CONAF: Camping Italiano (free campsite with no showers and basic amenities), Camping Torres
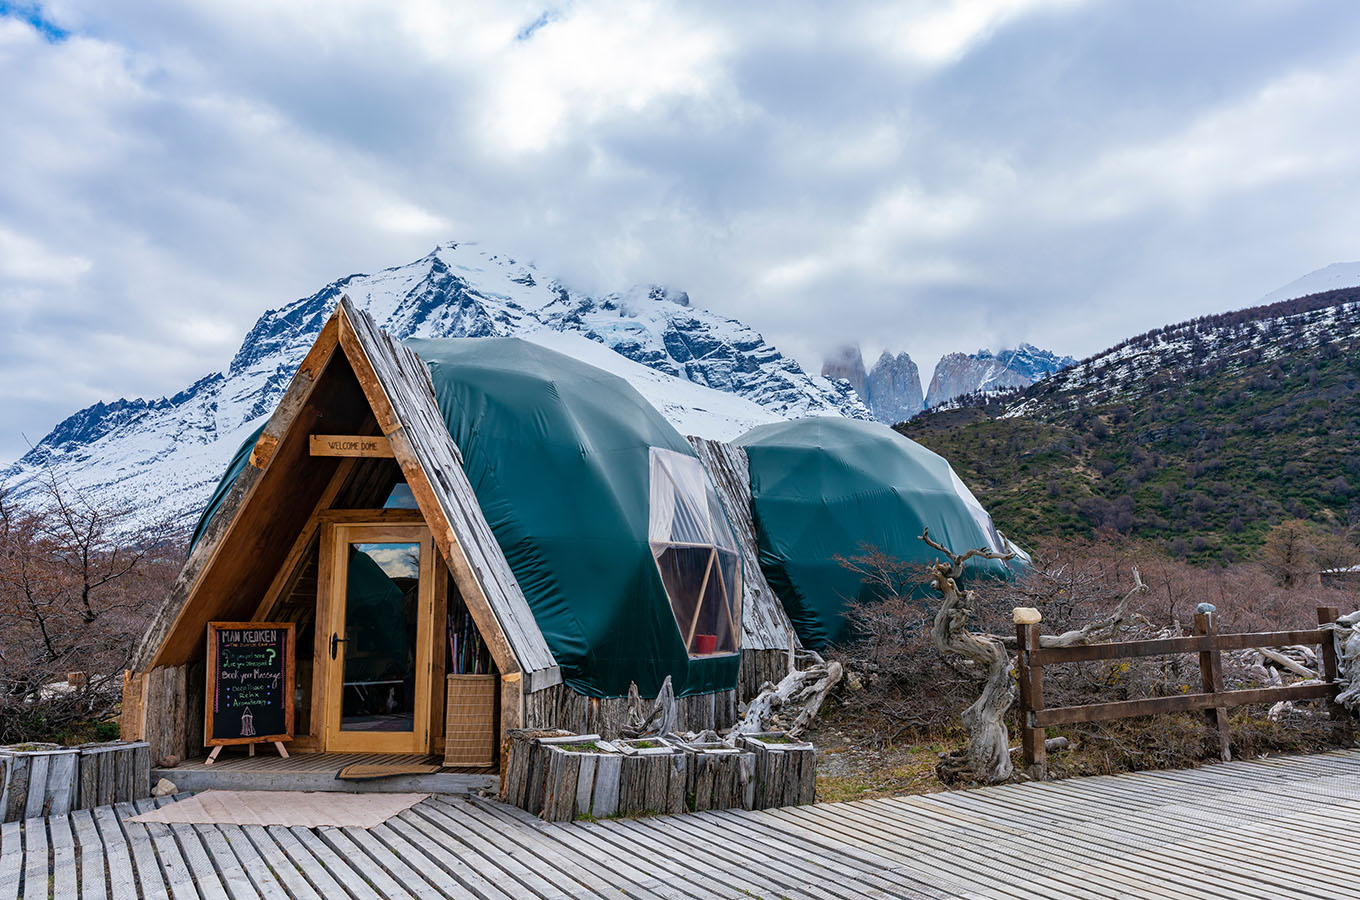
- Fantastico Sur: Camping & Domes Frances, Refugio & Camping Los Cuernos, Refugio & Camping Torres Norte/Central, Refugio & Camping El Chileno
- Vertice Patagonia: Refugio & Camping Paine Grande, Refugio & Camping Grey

What to Expect
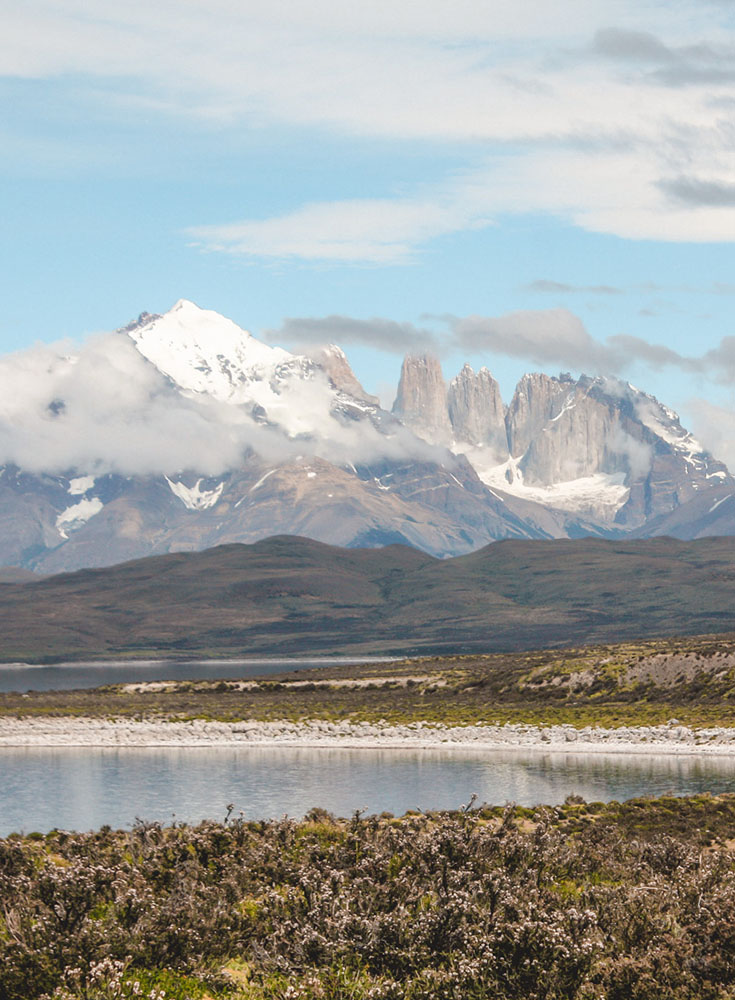
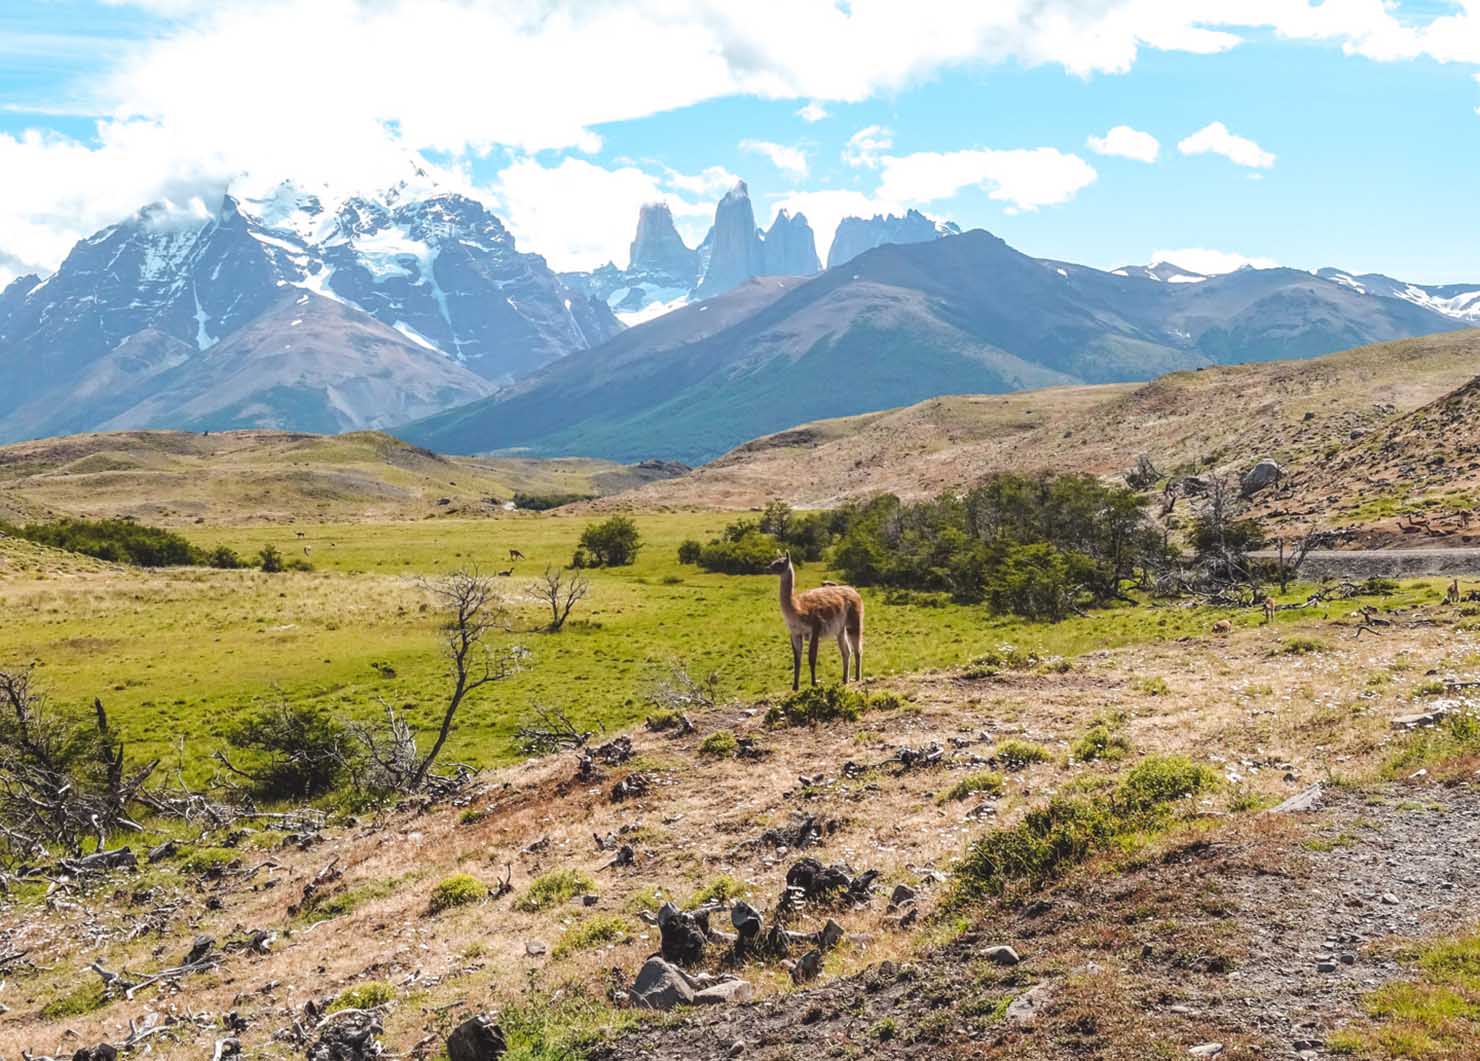
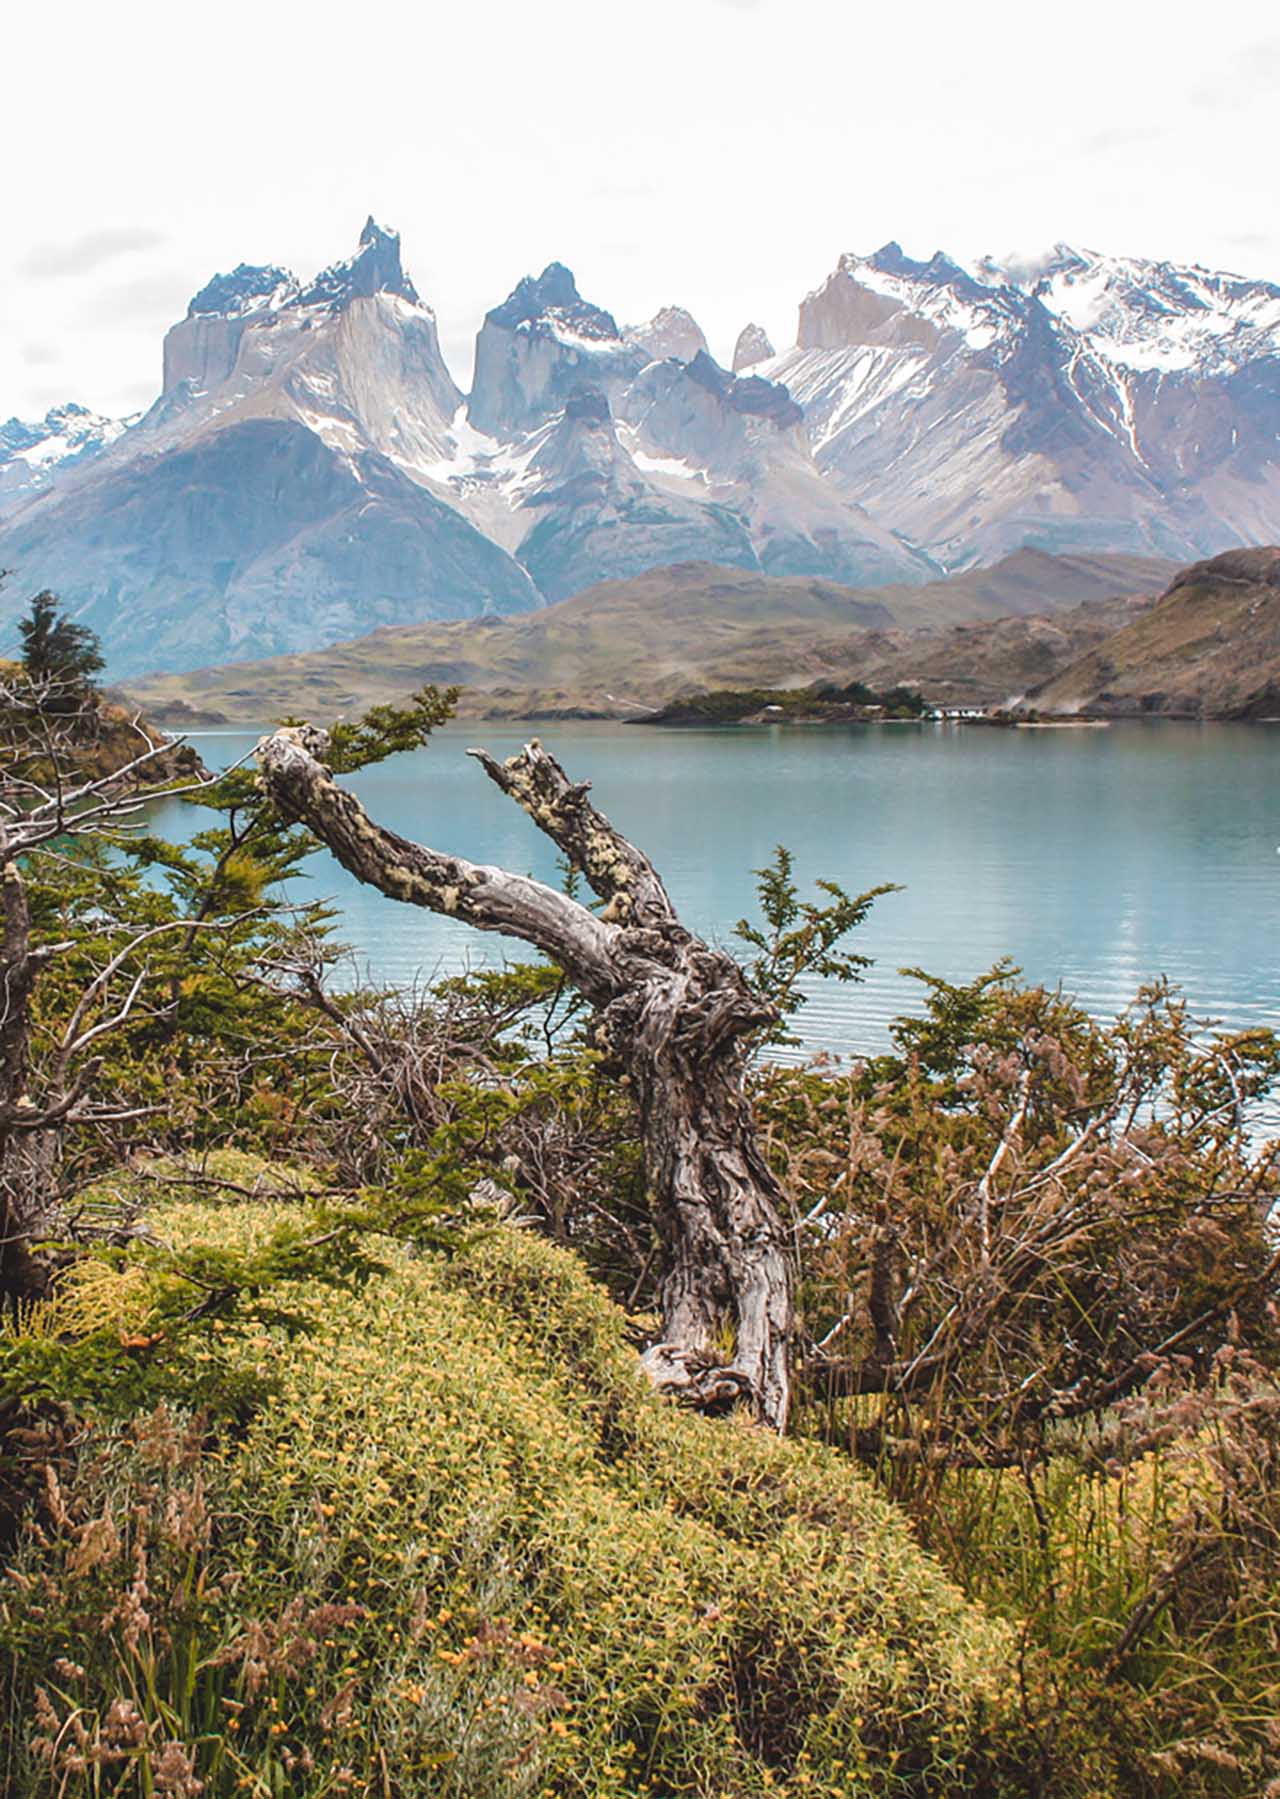
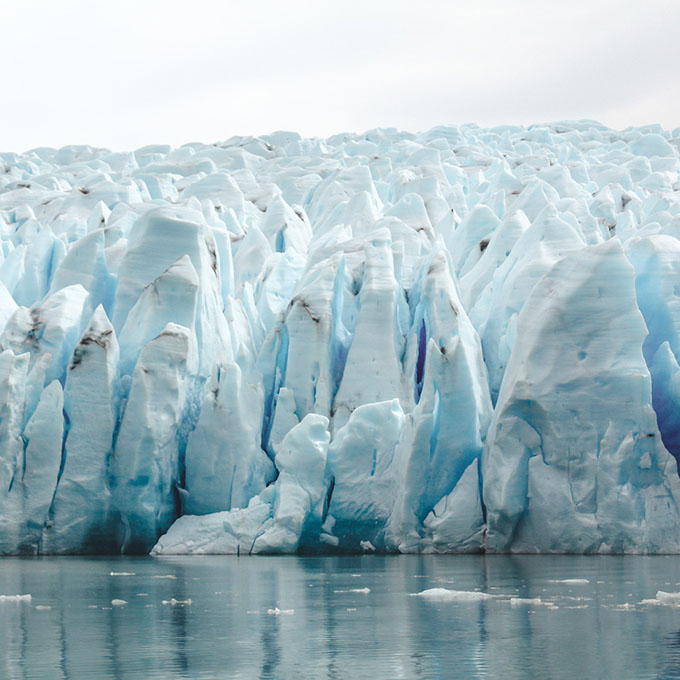
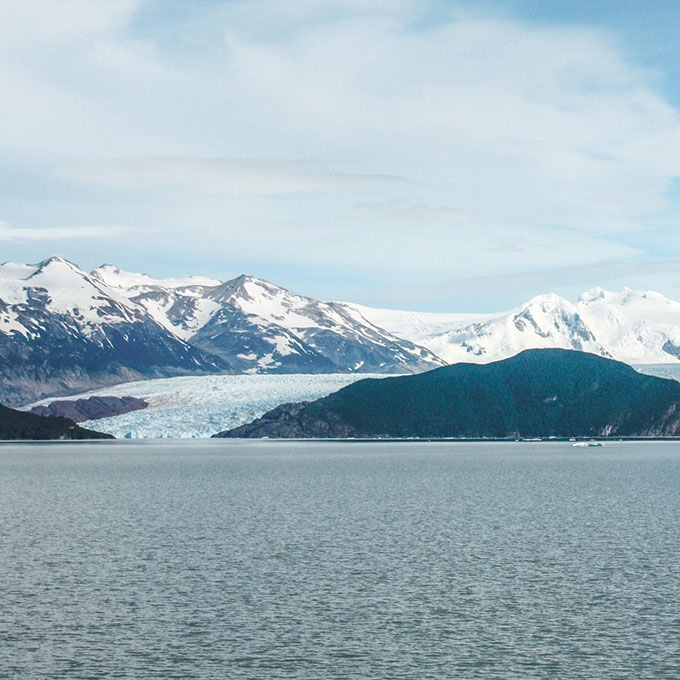
The Torres del Paine really has what I believe to be some of the best hiking in South America, if not the world. Expect incredible views, icy deep blue lakes scattered with icebergs, giant glaciers creeping down craggy valleys, and the iconic towers—fingers crossed it won’t be too cloudy to see them.
Expect to see lots of other trekkers and make friends along the way. If you’re you’d like to hike the trails solo and if you’re wondering if the park trails are too isolated the answer is no, at least not in high season. Going solo is perfectly safe and you’ll make friends in no time.
Know Before You Go
The entrance ticket for the Torres del Paine is $21,000 CLP for foreign adults (about $27 USD). You don’t need any kind of hiking or trekking permit.
There are many sources of drinking water along the trek at the campsites and refugios so you don’t need to worry about bringing bottled water with you. I would strongly recommend bringing a reusable water bottle with a powerful bacteria blocking filter which will allow you to also fill up from lakes and streams. The water here is extremely pure but it never hurt to be a little more careful.
You can hike both the ‘O’ or ‘W’ independently or as part of an organized tour.
The main advantage of the tour is that you won’t have to carry any camping gear and you can choose where to sleep. It also involves little planning. When doing it independently you’ll have to plan the trek yourself and reserve all your accommodation months in advance, if going in the high season. The cost is, however, considerably lower.
Wild camping is not permitted. You can only camp in designated campsites.
There are many places to dispose of your litter at the campsites. Please don’t leave litter anywhere else outside of these designated areas. Let’s keep this amazing corner of the planet clean.
For more information about Chile and other places to visit before or after your trek, check out my website, Roam and Thrive. Other posts you might find useful are:





I like your post. I really hope to go to torres del paine soon. I loved the Aoteaora trail in New Zealand.
Thanks for the post.
Doesn’t it look incredible? I would love to go there soon, too. 🙂