
Ready to take your photography to the next level? The best way to step up your game is to learn how to shoot in Manual Mode. I know it may sound extremely daunting when you hear technical terms thrown around like “bokeh, aperture, ISO, and reading the meter,“—so that’s why I’ve created this beginner’s guide!
Trust me, it’s not as scary as it seems! You just have to take it step by step.
Shooting in Manual Mode gives you significantly more control over every shot. When I first made the jump to an interchangeable lens camera, I was WAY too intimidated to learn technical photography and wasted many years settling with Auto.
While photo editing is a big part of the process, becoming a better photographer is essential.
Want to step up your photography game? Here’s my beginner’s guide to shooting in Manual Mode with your camera!
Camera Settings Tips
Image File Type
Shooting in RAW can be a lifesaver, especially when you are a newbie. This will allow you to edit your pics in programs like Adobe Lightroom for Desktop and make significant changes if you need to.
Shooting in JPG takes up a bit less space but that’s about the only benefit.
Heads up, if you shoot in RAW—you will need to convert it to a JPG before transferring it to your phone/sharing online. RAW usually can’t be transferred directly to mobile phones.
However, most cameras have the option to shoot in RAW + JPG, so if your camera can connect to your phone to transfer photos, and you plan to do this often, be sure to use this setting.
NOTE: This setting takes up a LOT of space on your SD card so be sure to have multiple high capacity SD cards with you.
Watch a Tutorial to Learn Your Camera Settings
I can’t stress this enough—take the time to find a high-rated video on YouTube that goes over all the settings of your camera so you can locate them more easily and know what features the camera has.
You’ve invested in the camera so you should learn how to use all of its settings!
So many years went by where I missed out on cool features my camera has, like customizing buttons to make shortcuts, simply because I didn’t know my camera was capable of it!
Heads up, some of the videos can be quite long (about 45 minutes to an hour, but TRUST ME it’s the best thing you can do when you’re starting out).
Tutorials will typically show you how to change the format from JPG to RAW as well!
Camera Gear
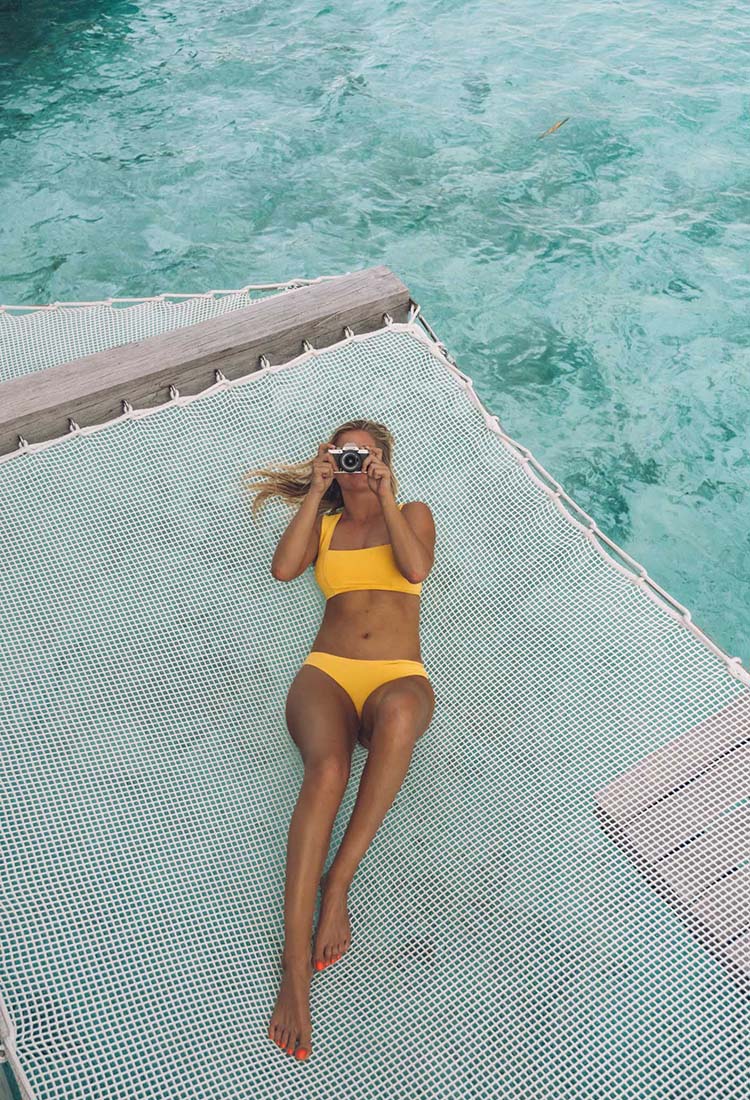
Body and lenses vary depending on the camera you invest in. When you take the leap from a point-and-shoot camera to one with interchangeable lenses, I would recommend investing in a mirrorless camera.
First, let’s talk about sensors.
- Full-Frame: essentially there are more pixels present in images shot on full-frame cameras, which will result in higher resolution and better quality images (great for if you’re blowing up photos and making prints). These cameras can tend to be a bit bigger or heavier. Some examples of full-frame cameras are the Canon Mark IV or the Sony Alpha series.
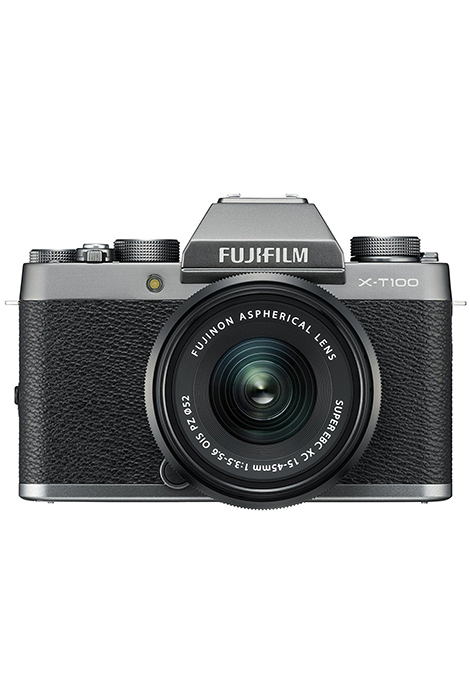
- Crop Sensor: generally crop sensor cameras are less expensive, but still snap gorgeous photos! They also tend to be a bit more compact. I personally shoot on Fujifilm X-series cameras which have crop sensors.
I recommend investing in a “kit lens” first. You’ll typically see these lenses bundled with the camera body of your choice and it’s usually a zoom lens. For example, a standard Fujifilm kit lens is the 18-55mm F/2.8; which means that it can zoom from 18 to 55mm and the widest aperture available is 2.8.
Helpful Tip:
Lenses
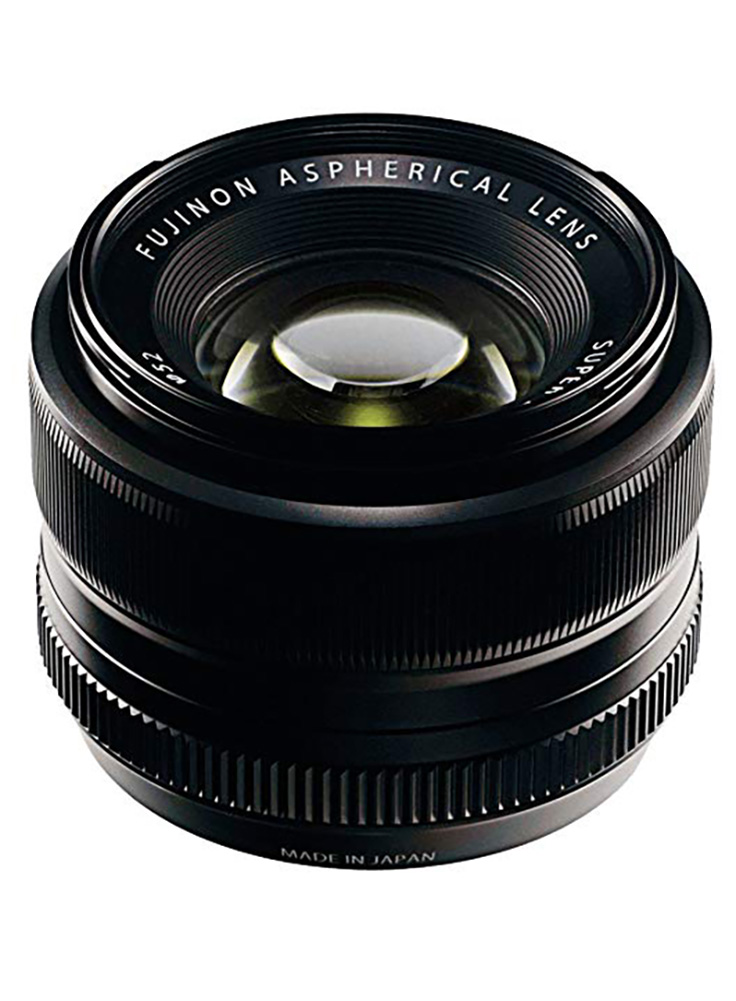
- Prime lenses are fixed lenses at a single focal length meaning they don’t zoom. They typically have a more powerful aperture and are great for fashion photography and portraits. I shoot on the FUJINON 35mm F/1.4 lens.
If you foresee yourself doing a lot of this kind of photography, it’s a great lens to have in your arsenal.
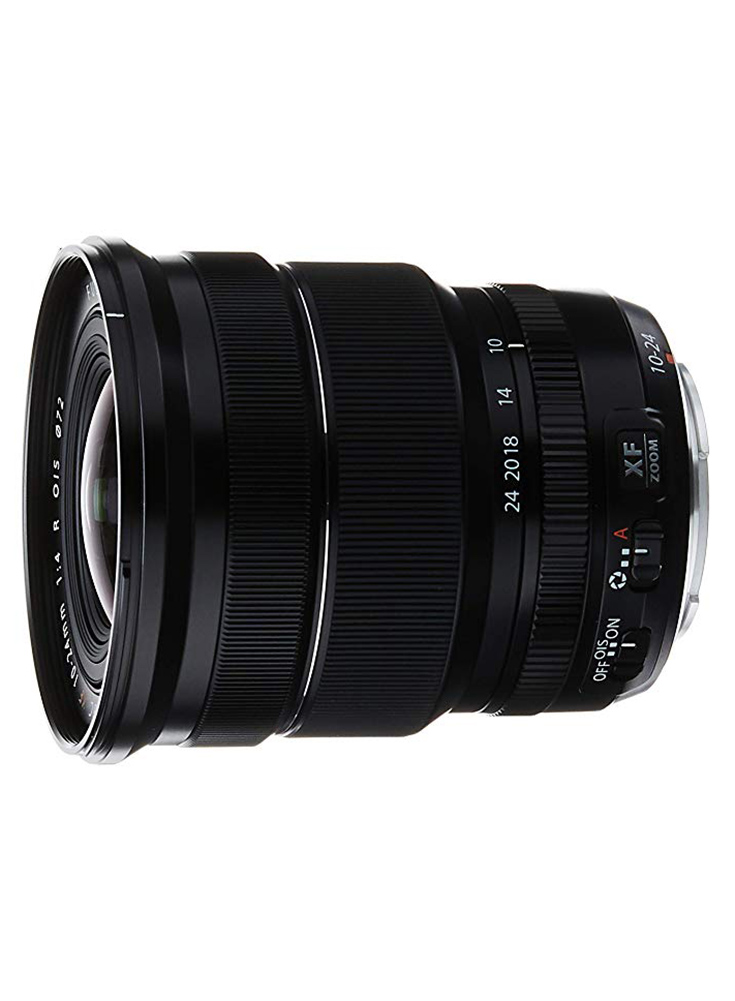
- For landscape photographers, a wide-angle lens can also be quite beneficial. I shoot with Fujinon 10-24mm F/4. The nice thing about this lens is that it’s wide-angle at 10mm, but when I zoom in to 24mm it loses the fish-eye effect, so it makes the lens a little more versatile.
If you have specific questions about a lens or your camera, going to a local camera shop or B&H are great places to get tips on which lens is right for you.
Curious about my photography gear? Find my essentials for travel photography here!
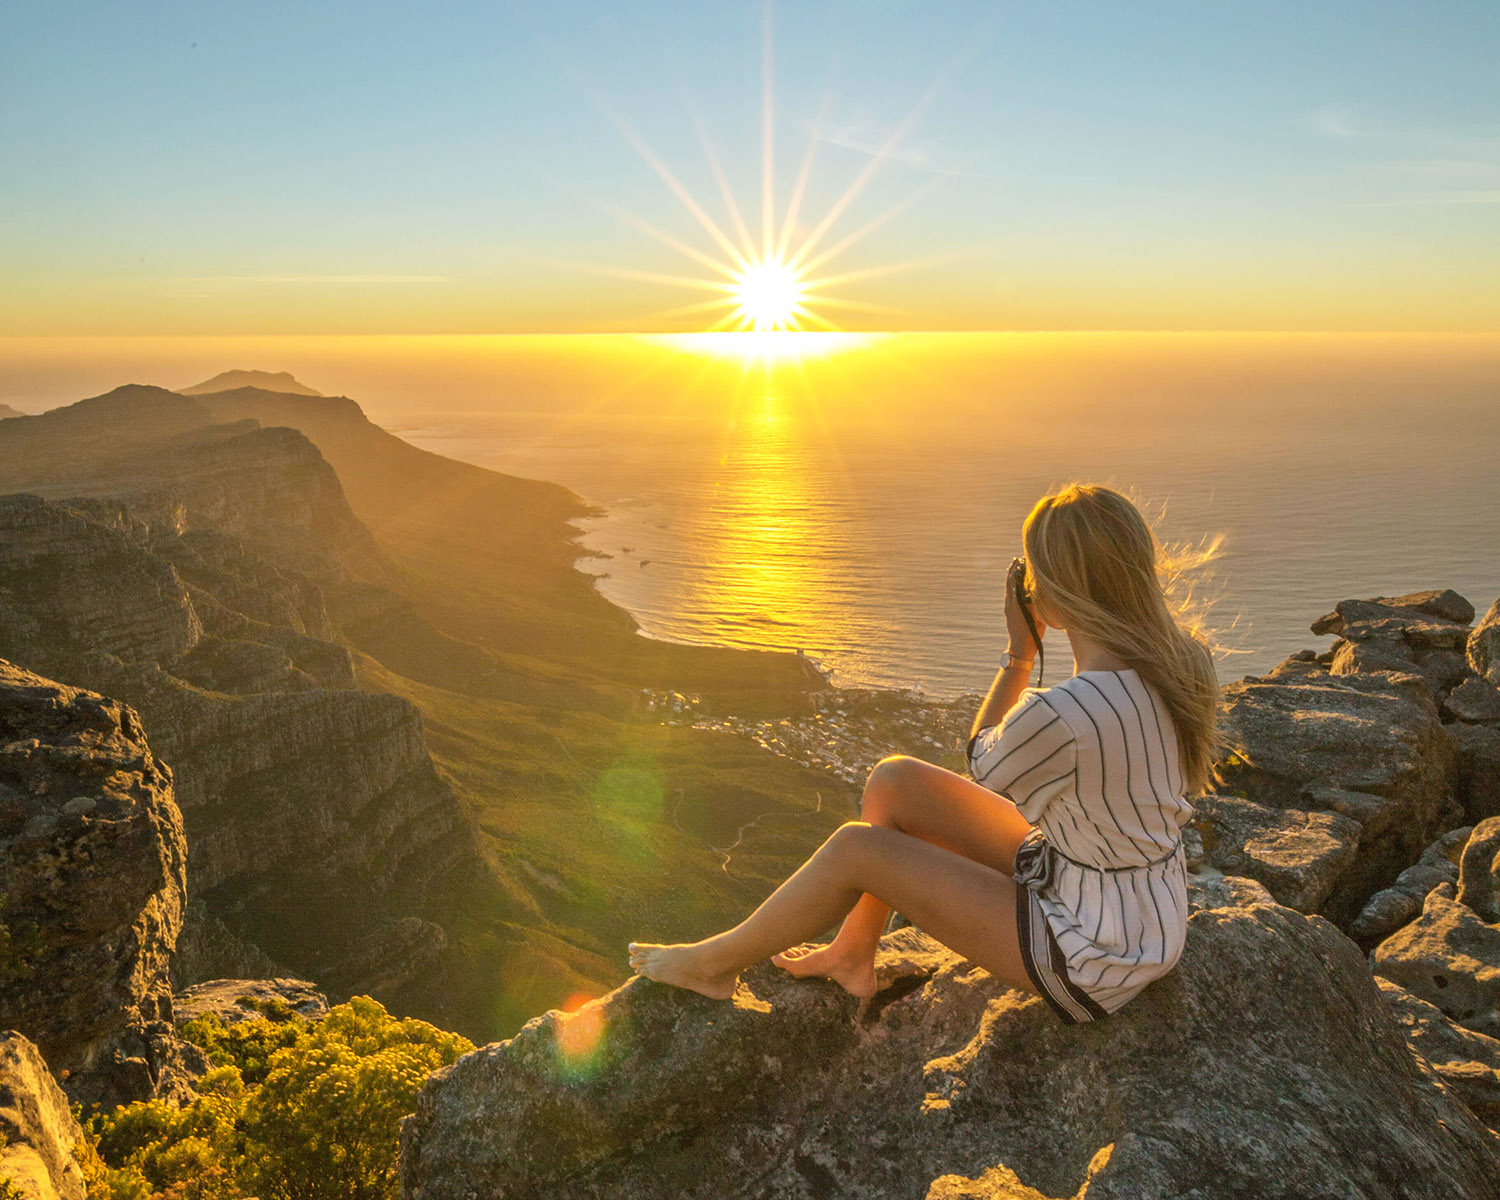
Cape Town, South Africa
The Best Lighting for Photography
Your optimal hours for photography are going to be daylight hours as there is more light available, and you can basically set your ISO and not worry about it the whole day. The trickiest times to shoot will be around dawn, dusk, and after the sun goes down…or in a place with a lot of shadows.
In the world of photography, there is something called the “golden hour” that occurs just before and after the times of sunrise and sunset. The “blue hour” is when the sun is below and the indirect sunlight creates a blue shade.
I’m not the type of person who only shoots during golden hour as that doesn’t usually work for my schedule. There are times when I have to deal with really difficult lighting but you make do with what you’ve got!
However, as a general rule of thumb, if you are able to plan things around nice lighting (early morning or just before sunset) the light will be softer and is conducive to a “dreamy” feeling in your photos.
Camera Settings: The Holy Trinity
You know how auto-correct never seems to know what you want to say when you’re composing a text? Your camera operates in a similar way when you shoot on Auto.
You can’t trust the auto settings on your camera to read your mind and capture exactly what you want.
When you shoot in Manual Mode, you have complete control over all of the camera settings. You can fine-tune your images and figure out the best settings to capture what you want. Say goodbye to blurry and overexposed images!
To get your head around using Manual Mode, there are three core settings you’ll need to adjust:
Aperture, ISO, and Shutter Speed.
Aperture
Aperture controls how wide the lens is open.
This is a crucial aspect because it affects two things: how much light enters your lens and how much of the scene you have in focus.
Aperture is commonly referred to as F-stop (not really intuitive, I know) and you’ll sometimes see this written as “F/” followed by a number, like F/2.8.
This is the setting you need to master to nail the depth-of-field you want!
That dreamy blurry background of a portrait that so many folks love? That’s called bokeh—and by learning how to play with the aperture, you can achieve just that.
- A low number aperture (F/1.4 – F/5.6), gives you a shallow depth of field and will create more of a bokeh effect.
In simple terms, the lower the number, the more the background of your subject will be out of focus.
- If you are shooting a landscape shot and you want the whole scene to be in focus (your subject AND the background), you want to use a higher numerical aperture (ex. F/10 – F/22).
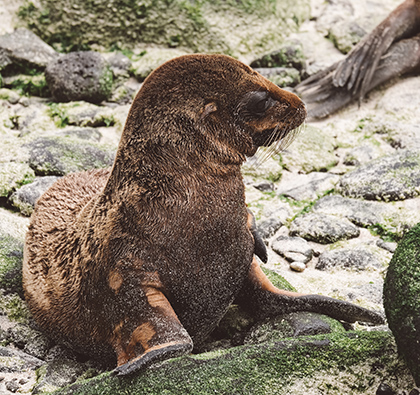
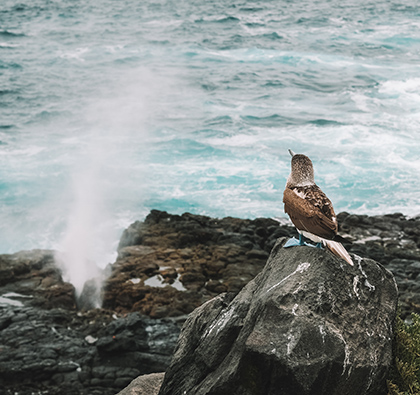
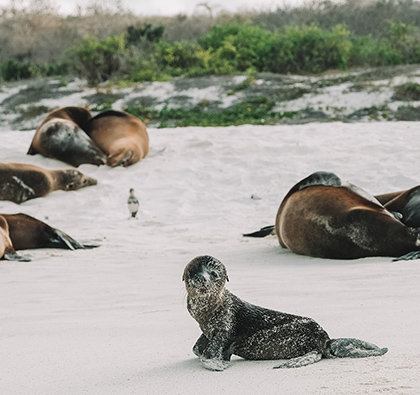
Helpful Tip: Distance between the photographer, the subject, and the background also play a role in depth-of-field.
- Close to Subject: As the photographer, the closer we are to our subjects, the more pronounced a shallow depth-of-field will be. That could mean you stand closer to your subject, or use a zoom lens to bring the focal point closer to the subject.
- Far from Subject: If you are farther away from your subject, you might notice that even when using a low number aperture like F/2.8, you don’t get as much bokeh.
- Distance Between Subject and Background: If your subject is close to the background, you’ll also notice that there is less bokeh than if the subject and background are farther apart.
Now that we understand how aperture affects depth-of-field, let’s go over how it affects light.
- The lower the number aperture (ex. F/2.8), the more light will be let in.
- The higher the number aperture (F/11), the less light will be let in.
While it’s easy to think of aperture as the depth of field, it works directly with ISO and Shutter Speed, which we will touch on later.
When you’re first starting to play with different settings, you might feel a bit overwhelmed. So let’s try one thing at a time. Your camera actually has a setting just for this!
We’re talking Aperture Priority.
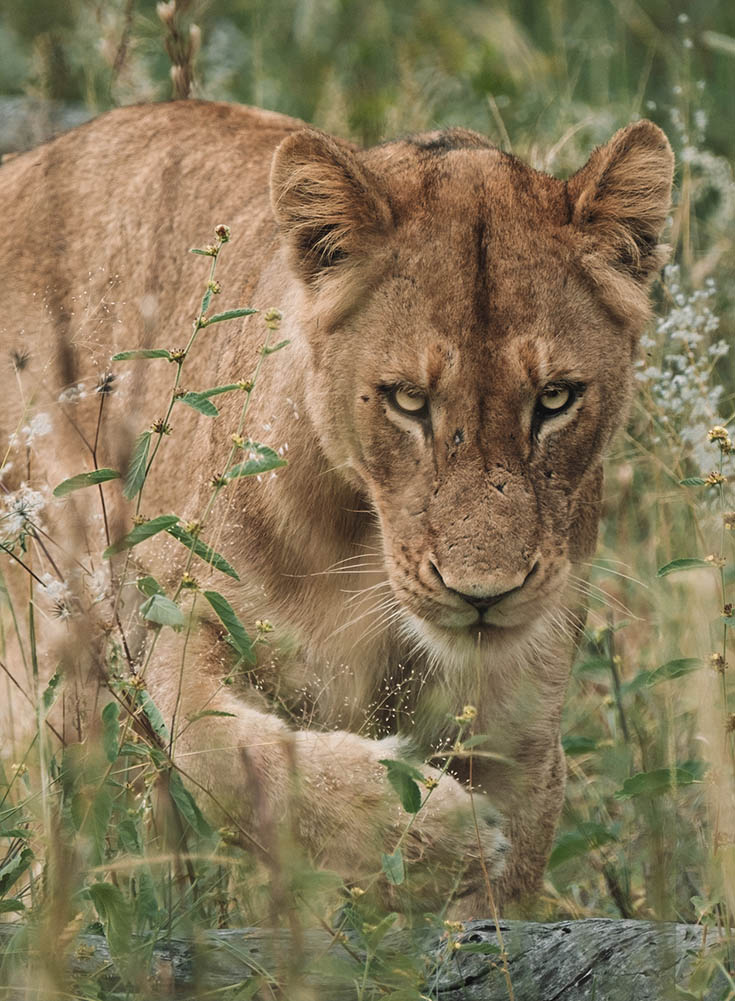
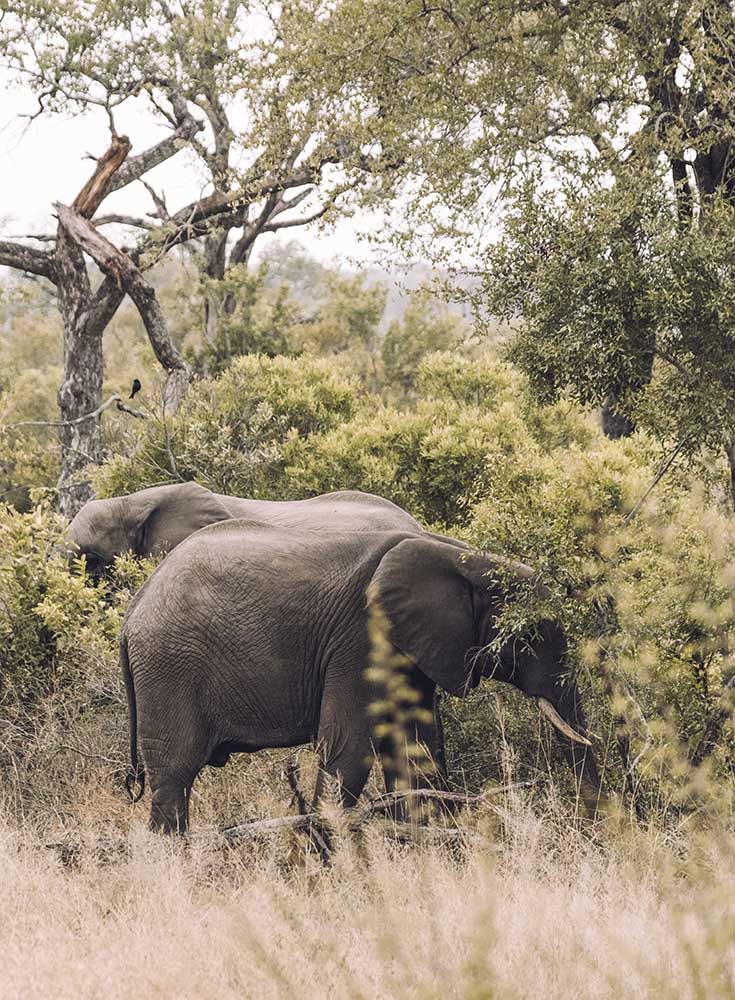
Lion photographed with a zoom lens at F/2.8; shallow depth of field. Elephants photographed from a distance at F/5.6; greater depth of field.
Aperture Priority
Using Aperture Priority, your Shutter Speed and ISO will be set automatically. This way, you just control aperture and can focus on depth of field.
Your camera will display the Aperture Priority as A or Av.
It’s helpful to take the same photo at different apertures to see how aperture affects a photo.
I personally shoot on full manual, but Aperture Priority is a great first step into shooting on manual. It simplifies everything so you only need to focus on adjusting a single setting.
Try This:
ISO
Now that we’ve covered Aperture, let’s talk about ISO! ISO controls your camera’s sensitivity to light and affects the graininess of your photo.
Here again, you’ll just need to learn the right ISO number for certain lighting situations.
The brighter your environment, the lower you can set your ISO. The darker it is, the higher you’ll need to set your ISO.
- For super sunny days, you might get down to 200-400 ISO.
- If you are shooting in low-light conditions, you might need to bump your ISO higher to something like 3200.
The higher your ISO the more grainy your photo will be—so most of the time it’s best to stick to the lowest ISO possible. This is why shutter speed aperture and ISO work together. For example, you might want to use a wider aperture like F/2.8 (to let in more light) to avoid using a higher ISO.
Typically, my ISO at 400 most of the time and only adjust it in low light situations.
Shutter Speed
The shutter speed controls how long or short your camera is open to expose light. This determines if your photo is crisp or blurry (think cars blurring on the street or water in motion).
When it is bright outside, you will want a faster shutter speed so that the scene doesn’t get washed out.
Aperture and Shutter Speed work together—think of it like your eyelids and pupils. The Aperture works like a pupil to control how much light enters. Meanwhile, the shutter comes down like an eyelid blinking.
So, how do I know what shutter speed to use?
AVOID BLUR: This is specific to low light scenarios. The slowest shutter speed you can use without a tripod is actually pretty easy to calculate. Measure 2x the length of your lens. For example, if I’m shooting on a 35mm lens, 2×35= 70. My camera’s shutter speed jumps from 60 to 125 shutter speed. So, the slowest shutter speed I would shoot on, without a tripod, is 125 instead of 60. 60 is too slow (less than 70) and would result in a blurry photo.
Remember that the lower the shutter speed, the more light. So, if you’re dropping your shutter speed, you can avoid increasing your ISO.
CAPTURE A MOVING OBJECT: You will need a faster shutter speed if you are trying to capture a moving object (a horse, fast car, trying to capture a jumping shot) and for very bright lighting situations.
VERY LOW LIGHT: If you’re using a tripod, go wild with slow shutter speeds! This is what you would use for night photography and extremely low-light situations. Remember that 2x the length of your lens is the slowest you can typically shoot without a tripod. So with a tripod, you can leave your shutter open for as long as you want.
PRO TIP: If you are shooting in low light with a tripod, also use your timer so that your camera has as little movement as possible before the shutter is triggered.
Remember! This alllll takes practice and might seem overwhelming at first. Practicing your photography in different scenarios is the only way to get a feel for how aperture, ISO and shutter speed actually work together.
Go Prepared
If you are in a once in a lifetime situation, plan ahead! You don’t want to miss an epic shot of something you may never see again. I’ve created a range of customized guides to get you ready for different moments.
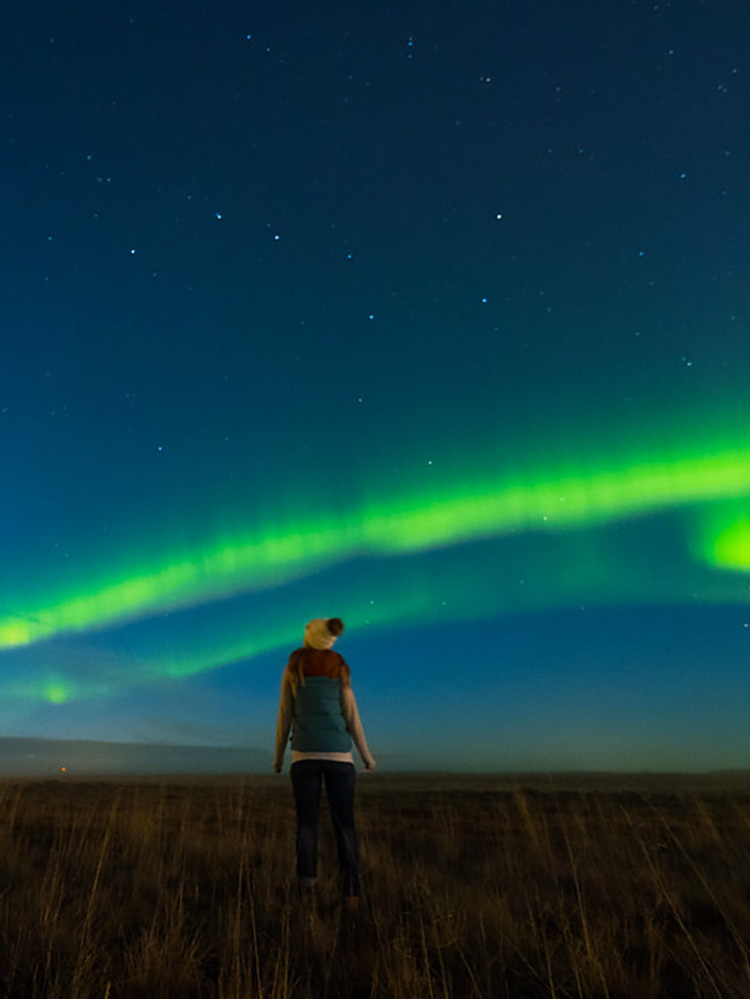
Photographing the Northern Lights
How to Take Awesome Sparkler Photos
Photo Tips from my South Africa Tour
Using Your Light Meter
You might have heard the phrase “reading the meter” before. When people say this, they are talking about the little bar inside the viewfinder or on your LCD display. This will help you know if your photo is properly exposed or if you need to adjust your settings.
Why do you want a photo properly exposed?
If it’s too bright, you will lose a lot of the details. On the contrary, if it’s too dark, you might not be able to brighten or bring up the shadows enough.
Either case could leave you with a photo that you’re not happy with.
Remember that photography is an art. Some photographers like to shoot a little underexposed while others prefer an overexposed style. It’s just a personal preference. However, when you are starting out—I’d highly recommend aiming to properly expose your photos (0 on the meter) and discover your personal style in the editing process.
This ensures you have a good base photo to play with and don’t have to worry about rescuing it.
PRO TIP: If you are shooting in mixed lighting (ex. backlight subject or a scene with shadows) you might not be able to trust your meter. In this case, you’ll have to trust your eye. I personally choose to shoot slightly underexposed in these scenarios to capture better lighting of the brightest part of my photo.
It’s easier to lift shadows than to fix overexposure.
TBA Lightroom Presets
Master the colors of your shots and create a consistent aesthetic as you master the essentials of photography. I created these custom Adobe Lightroom Presets for Desktop and Mobile to help you add a beautiful pop to your photos.
Shop NowHelpful Tips
Composition
When it comes to composition (the position of objects/people inside of your frame), the first thing to learn is the Rule of Thirds. Turning on the grid view will allow you to use this. In fact, your phone probably has these grids so you can turn them on right now to practice.
The idea of the Rule of Thirds is that you are breaking your image down into thirds to create nine parts.
With your view broken down into nine parts, you can spot the four key points of the photo that should serve as the centerpiece. Rather than placing your subject dead center, you might want to put it/her/him at one of the four intersections of the lines.
The rule of thirds plays into the balance of what our eyes naturally find appealing.
With or without gridlines set, be sure that everything in your photo is level. Some cameras also have a level that displays so you can see when your camera is perfectly straight. If the horizon or any other “balancing” line is visible, be sure that it is straight across in your shot.
Focusing
I typically shoot photography with Auto Focus on. Most modern cameras have great AF and you can leave this setting on auto. However, it is useful to know where to switch from auto to manual focus should you need it.
Pro Tip: If your camera’s AF reads that your subject is in focus, but the photo looks blurry to you through the viewfinder, it’s time to check your diopter. Your diopter dial is usually located near your viewfinder and can be turned clockwise or counterclockwise to adjust the focus of your eyesight.
It works just like going to the optometrist (not everyone’s eyesight is the same so be sure to customize it to your own!) Simply look through your viewfinder while you adjust it so you can tell when it’s in focus.
White Balance
The white balance sets the temperature of your photo to determine if it’s more blue or yellow in tone. Having a consistent tone in your photos will start the editing process on the right foot (or just give you an instantly gorgeous shot!). You’ll find “White Balance” options for daylight, cloudy, and other conditions.
Typically, I leave mine set to auto, but there are scenarios where I’ll switch my White Balance from Auto to match tricky conditions.
Congrats for taking this huge step in learning a new skill! When you first start shooting in Manual Mode, it’s going to feel tedious BUT it gets easier! Like learning a new language, the more you practice, the more natural it becomes.








I thoroughly enjoyed reading your post Thanks for sharing a valuable information
Thanks so much!