Dominique of The Thrill of Pursuit is bringing a delicious Filipino dish to the ‘Recipes Around the World‘ series!
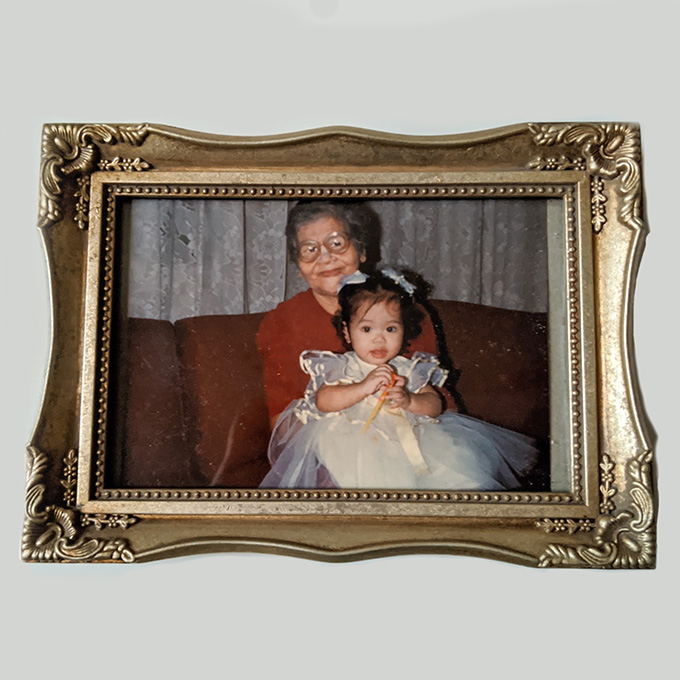
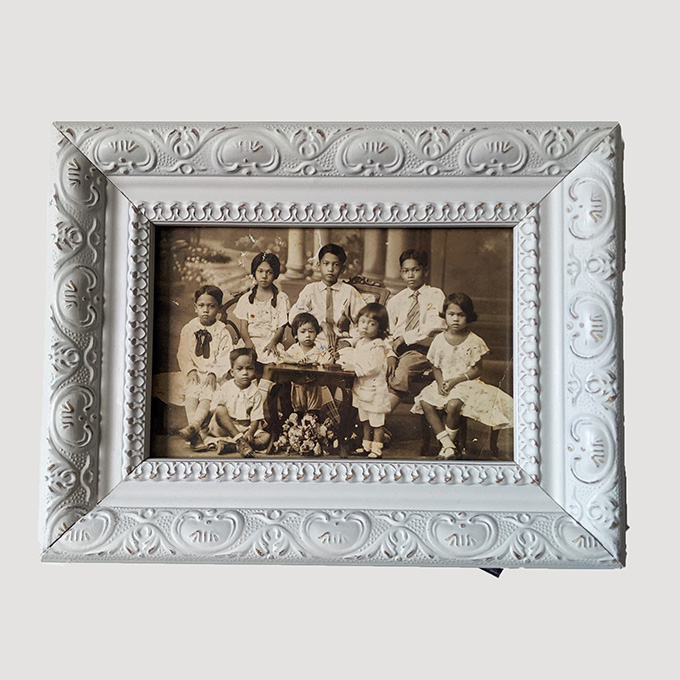
Ensaïmada (pronounced: en-SIGH-mada) is the Filipino take on brioche. They are lightly sweet, savory, and fluffy pastries that pair well with your afternoon coffee or tea. These rolls never fail to transport me back to childhood afternoons at my Lola’s (grandmother) house in Manila.
Ensaïmadas are an extremely popular merienda (snack) in the Philippines. In fact, there are many variations to the recipe ranging from the classic to more complex creations that are stuffed with fruit jellies that are native to the region and/or topped with buttercream.
Here, I am sharing my Lola’s classic ensaïmada recipe because nothing beats the classic! Though it is a simple recipe to follow, it is also time-consuming. That first bite fresh out of the oven though is so worth it!
Ensaïmadas are staples at the local bakeries and chain bakeshops of the Philippines. They are most likely mass-produced via machines but nothing beats the ones made from scratch!
Here’s the recipe for how to make Ensaïmadas at home!
Cultural Context
The origins of the Filipino ensaïmada (also spelled ensaymada) can be traced back to Mallorca in the Balearic Islands of Spain. The name comes from the Catalan word saïm which means pork lard which is a key ingredient in the original Majorcan recipe.
This was because during the Spanish Inquisition, the Crown mandated the use of pork and pork products in recipes.
The Philippine Islands were a Spanish colony for over 300 years. That is why many Spanish customs and recipes were brought over and adopted by the Southeast Asian nation. Ensaïmada is just one of many Spanish recipes that the Filipinos altered to make their own.
In this case, the Filipinos replaced pork lard with butter and added cheese.

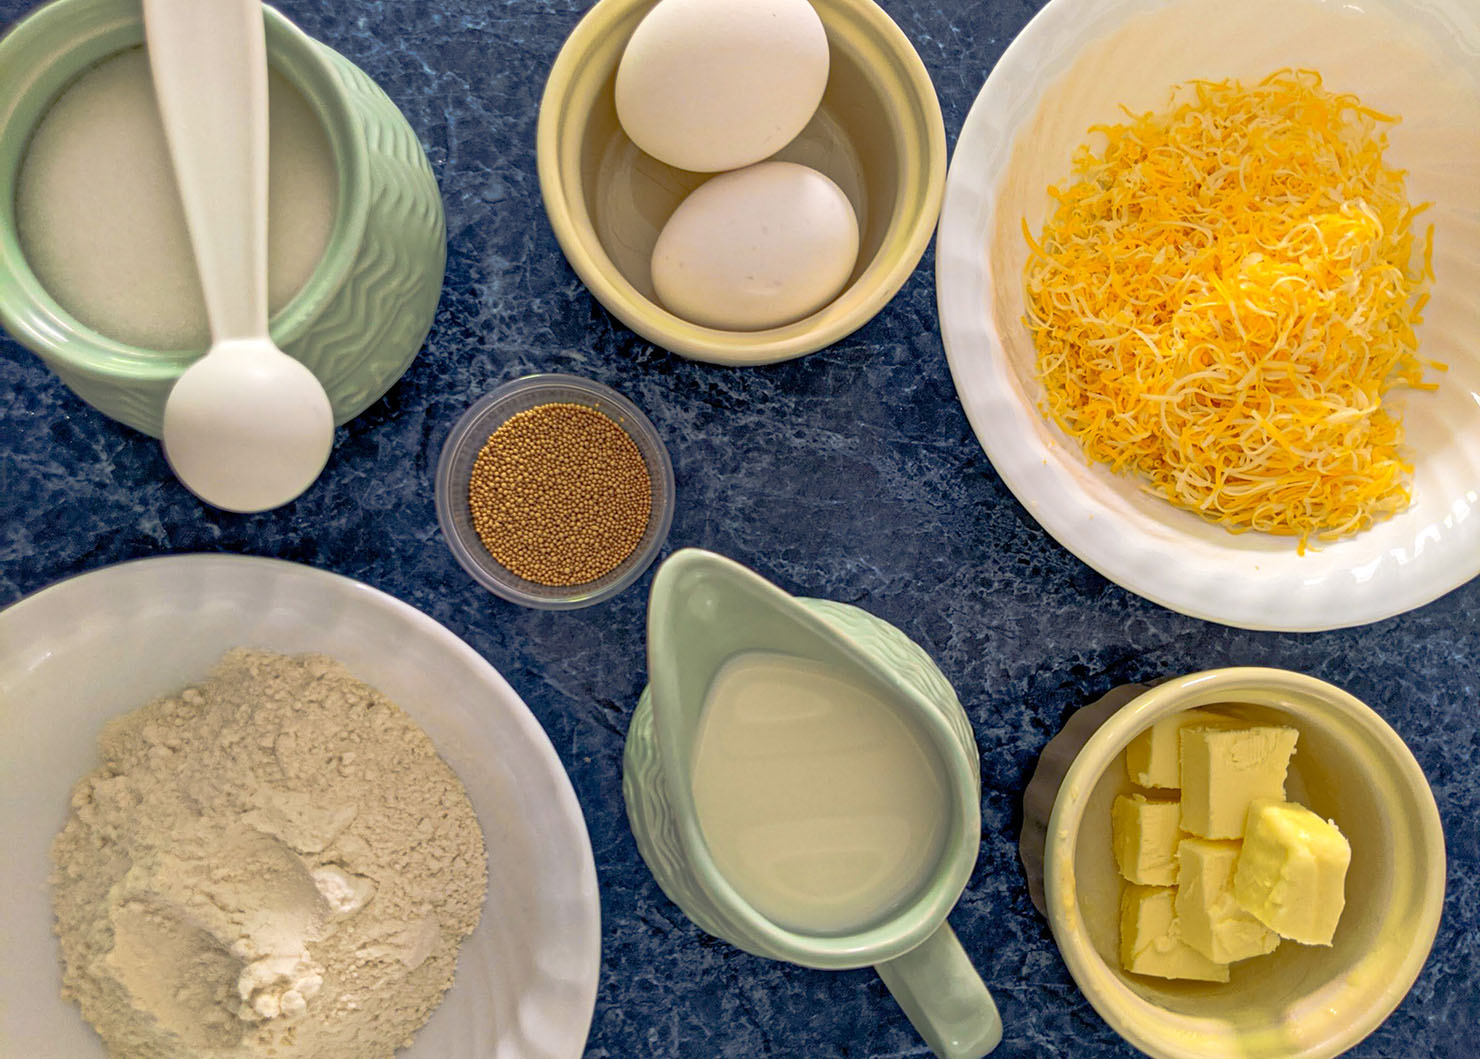
Ingredients
To prepare the yeast:
- ½ cup of lukewarm milk
- 1 packet or 1 ½ teaspoons of active dry yeast
- 1 teaspoon of granulated sugar
To prepare the dough – Phase 1:
- ½ cup of warm milk
- ¼ cup of granulated sugar
- 1 teaspoon of salt
- ¼ cup of unsalted butter at room temperature
- 2 large eggs – beaten at room temperature
- 4 – 4 ½ cups of all-purpose flour
- 1 tablespoon of oil
To prepare the dough – Phase 2:
- ¼ cup of melted unsalted butter
- 2 cups of finely shredded sharp cheese (sharp cheddar is a personal favorite)
For the topping:
- Room temperature unsalted butter
- Bowl of granulated sugar for dipping
- 1 cup of finely shredded sharp cheese

Recipe + Preparation
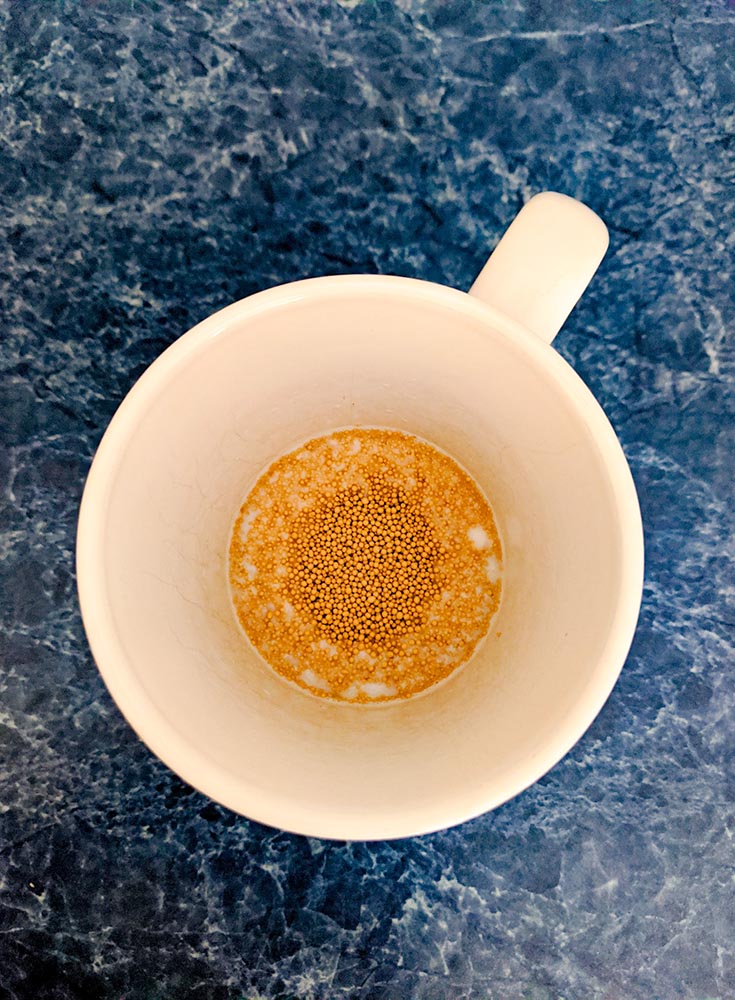
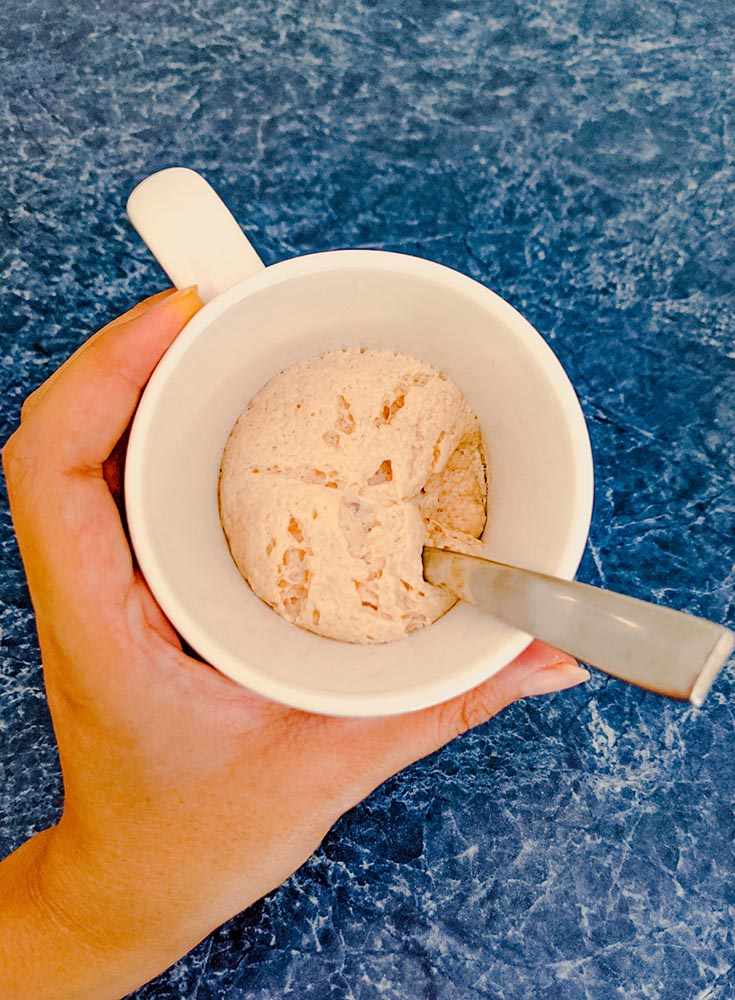
- In a cup, combine ½ cup of lukewarm milk, active dry yeast, and 1 teaspoon of granulated sugar. Stir until sugar is dissolved. Set this mixture aside to give the yeast time to “activate” (this takes about 10 minutes).
- In a bowl, combine ½ cup of warm milk, ¼ cup of granulated sugar, salt and ¼ cup of room temperature butter. Stir until butter has melted.
- Set the milk mixture aside and let cool.
Phase 1 of the dough preparation:
- In a large bowl, combine the yeast mixture, the milk mixture, eggs and 1 ½ cups of flour. Stir until combined.
- Gradually add the rest of the flour to the dough, a ½ cup at a time. Continue to stir.
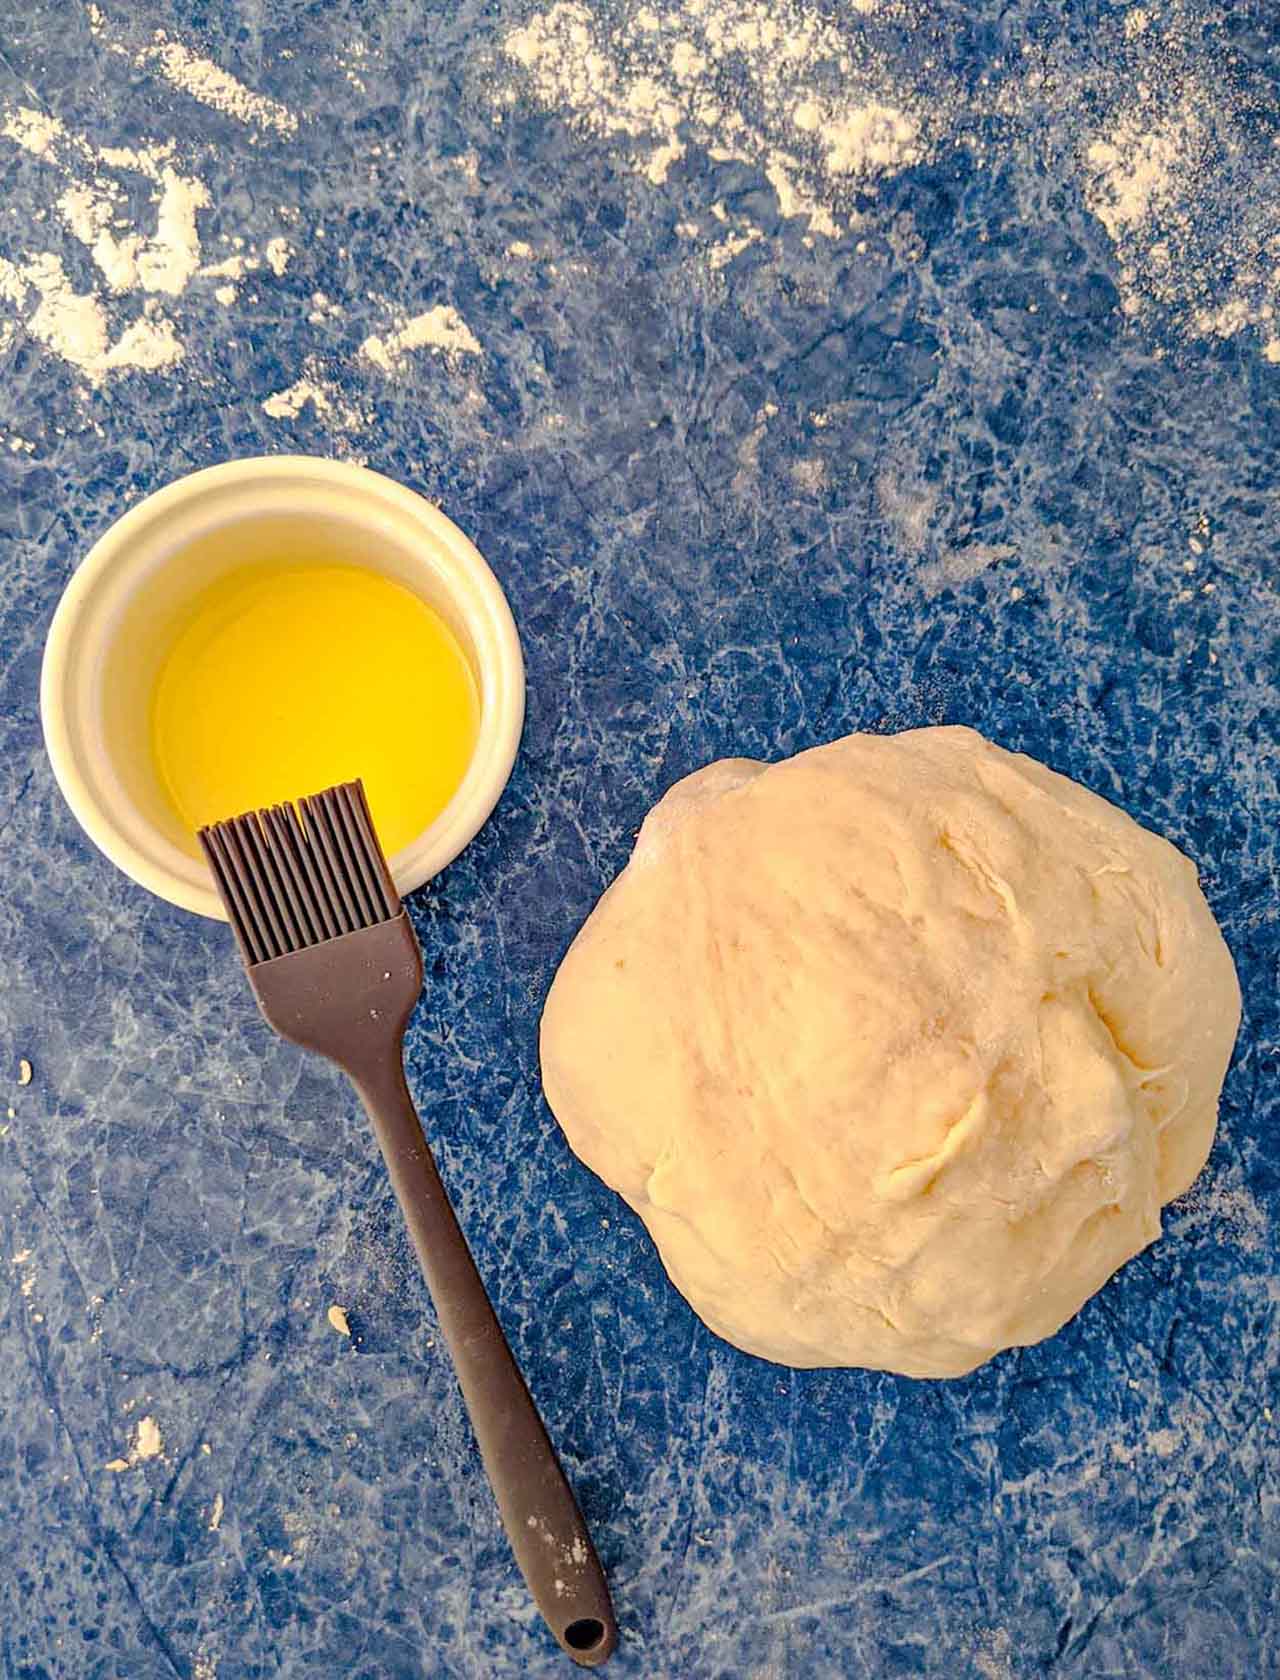
- The dough should start pulling and sticking together in a ball at this point. If not, add an additional ½ cup of flour. Transfer the ball of dough onto a lightly floured surface. Knead until smooth and elastic (i.e. until it is no longer sticking to your fingers).
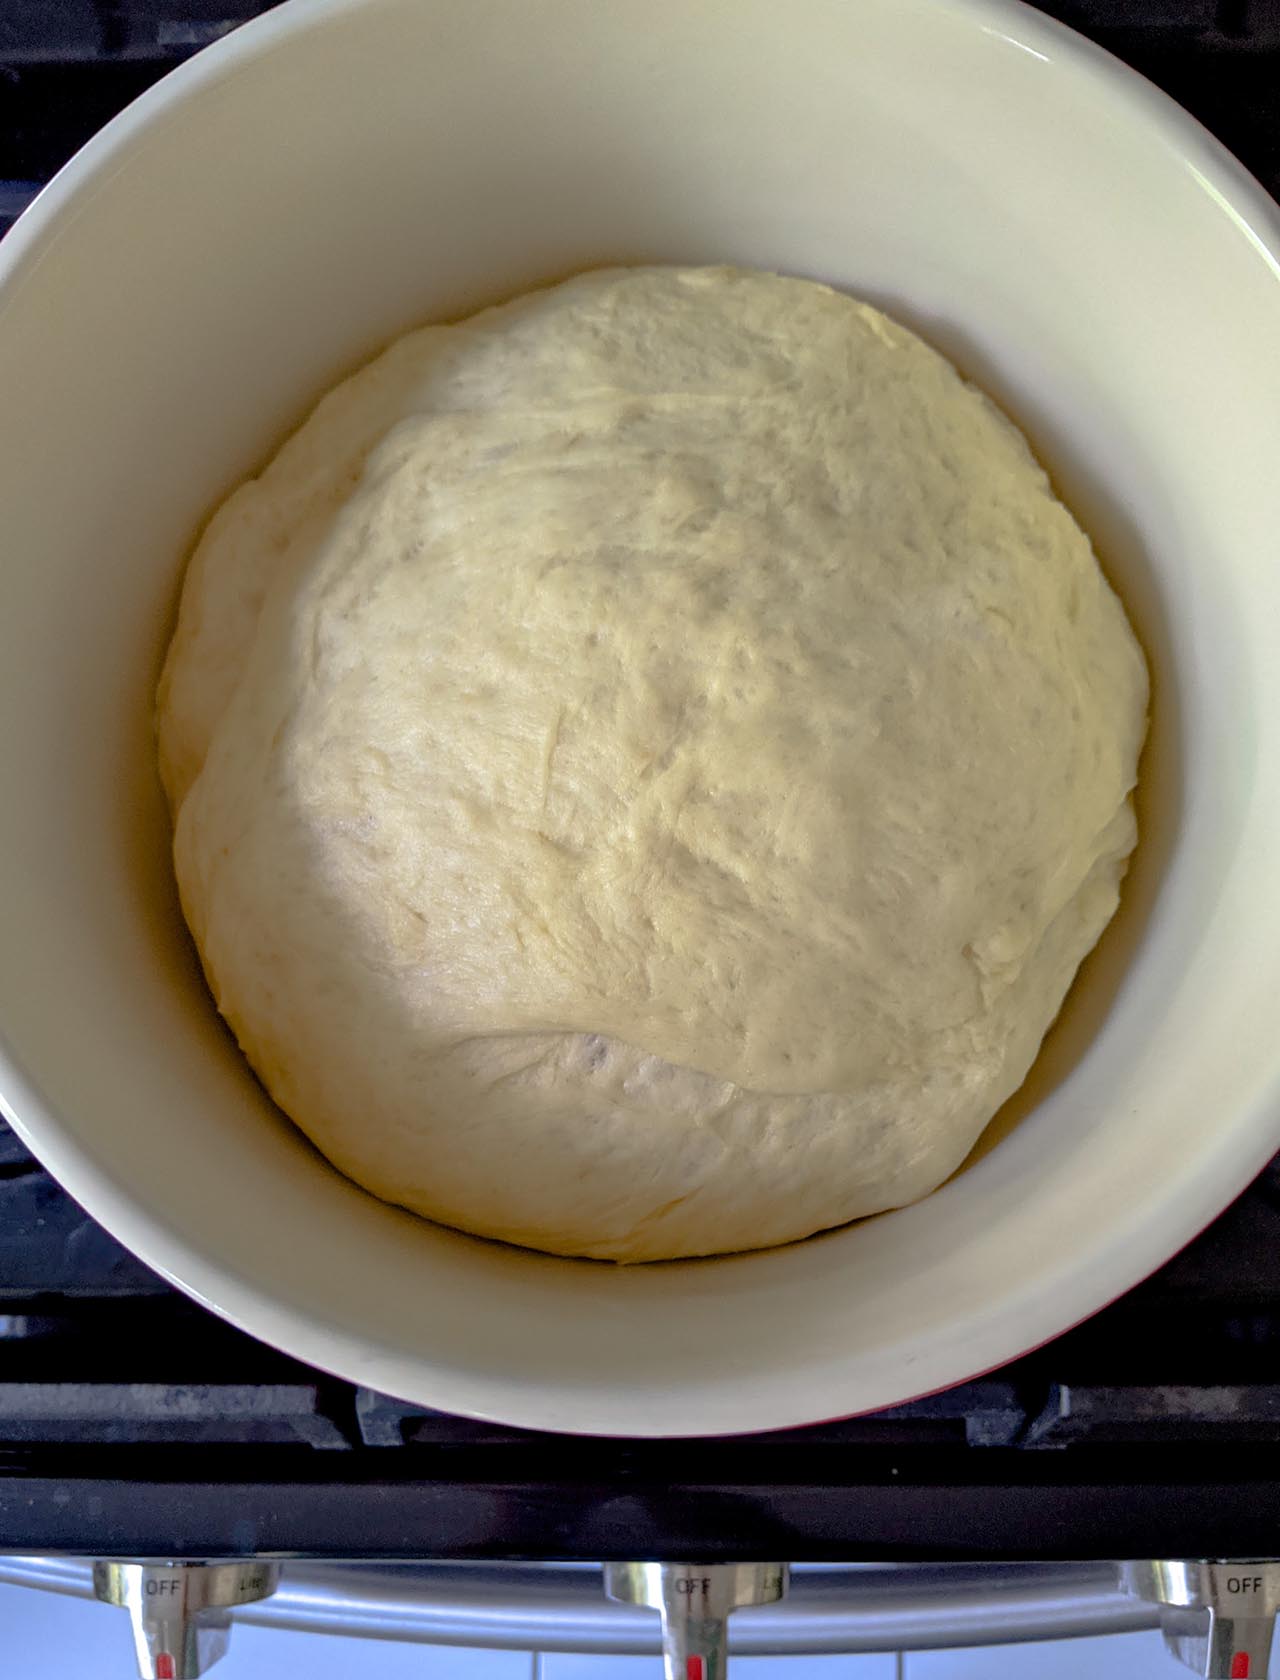
- Coat the outside of the ball of dough with oil and place in a clean bowl. Cover with food wrap and allow to rise in a dry, warm environment until it doubles in size (this takes about an hour).
Phase 2 of the dough preparation:
- When the dough is ready, remove the food wrap and punch the dough in. Transfer the dough to a lightly floured surface and roll out slightly.
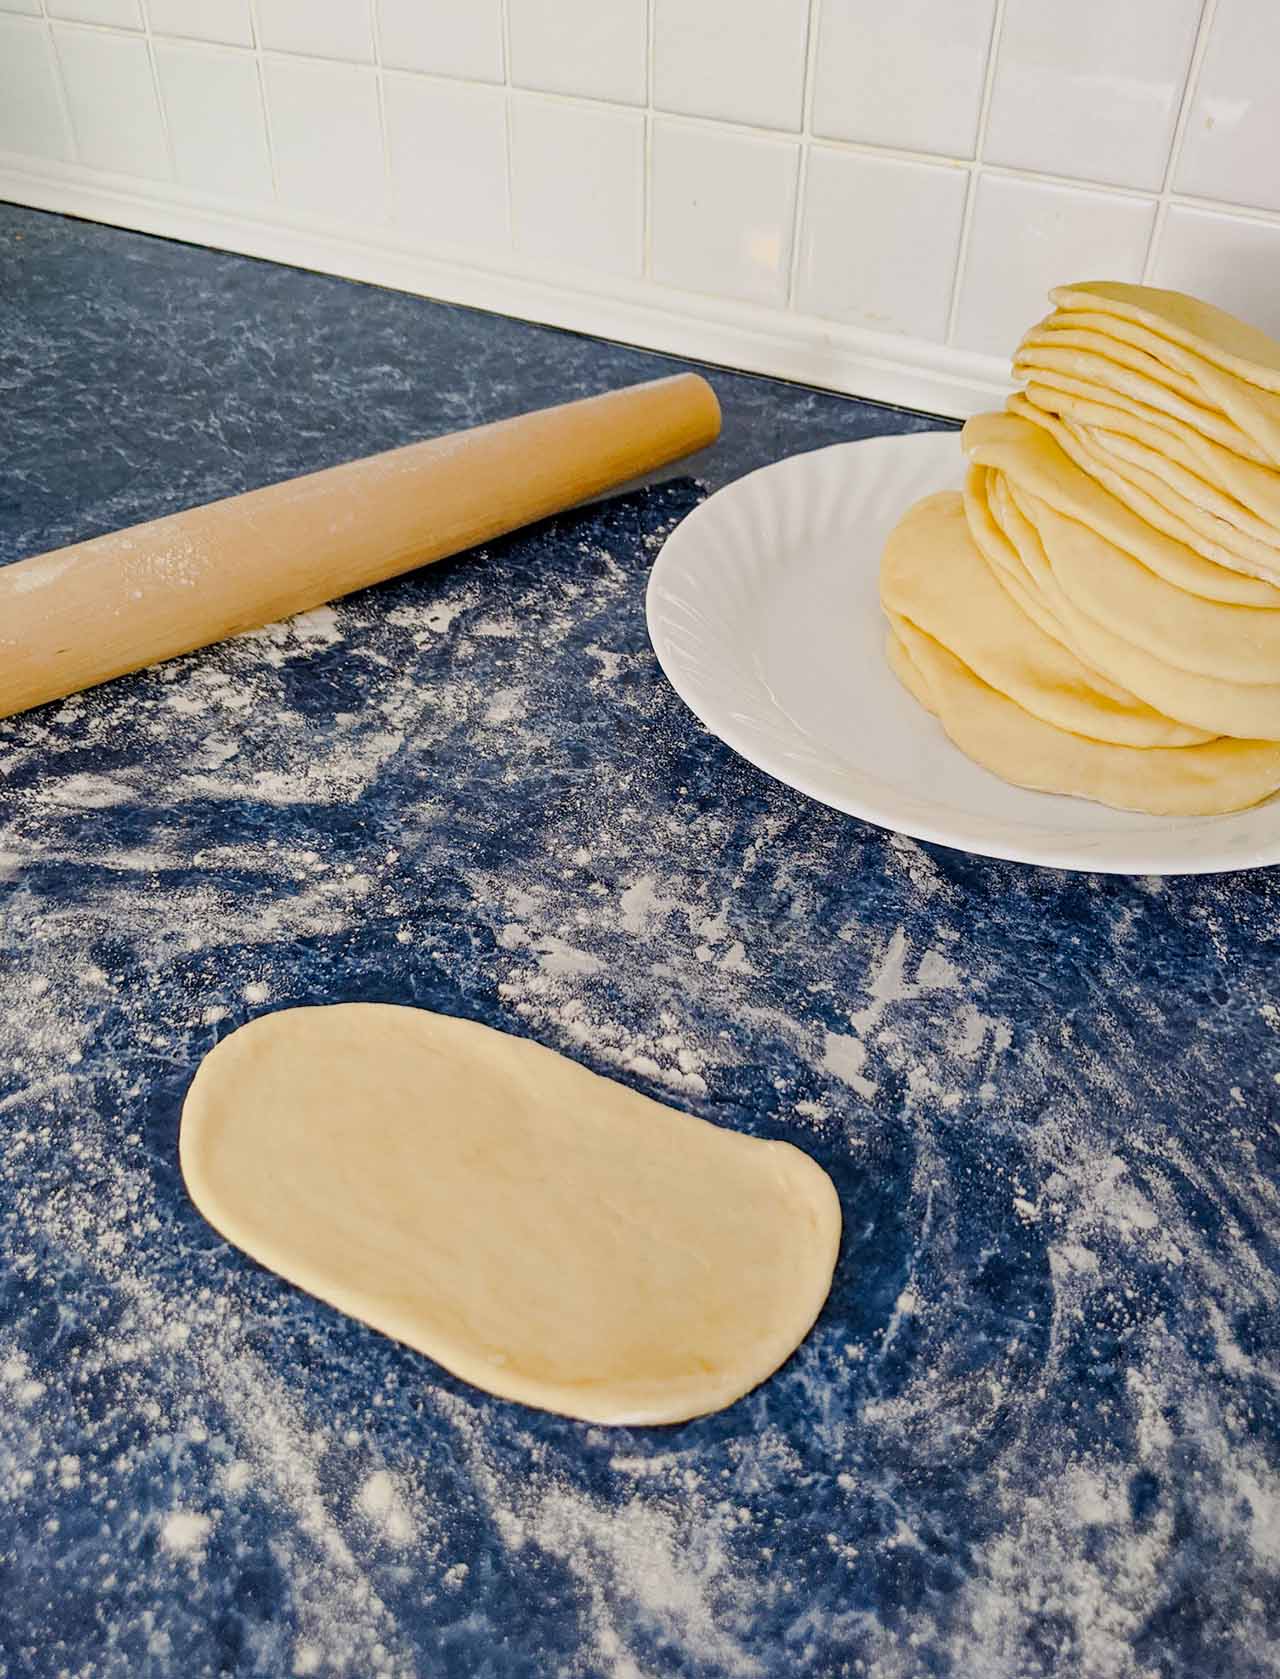
- Evenly divide the dough into 12 pieces and flatten each piece into a 4 by 6-inch rectangle.
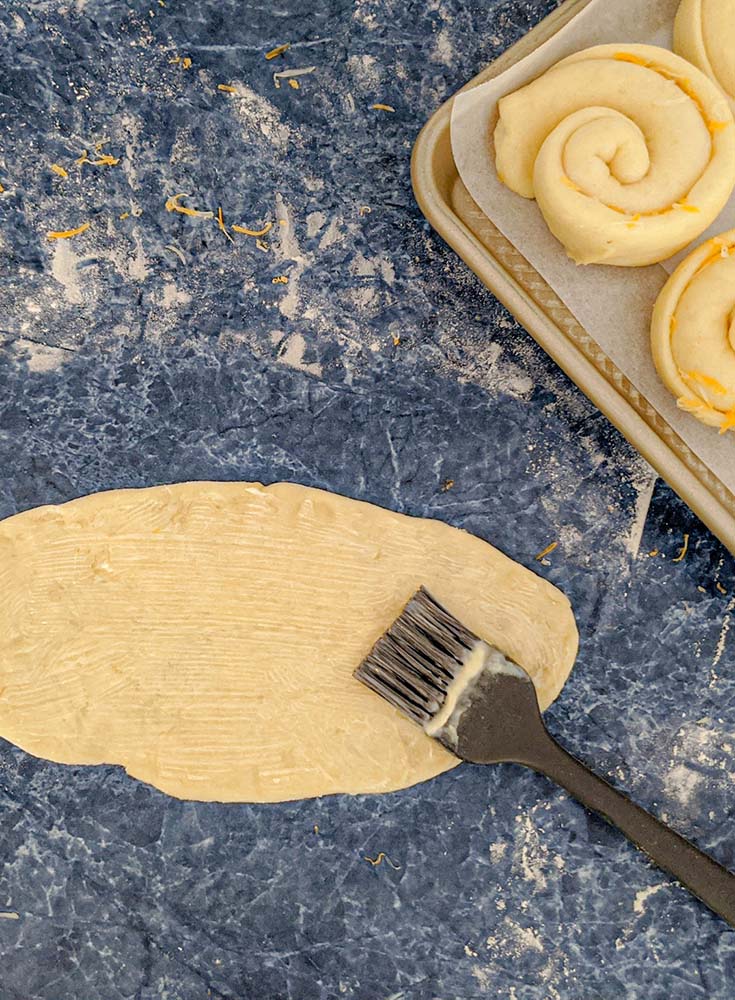
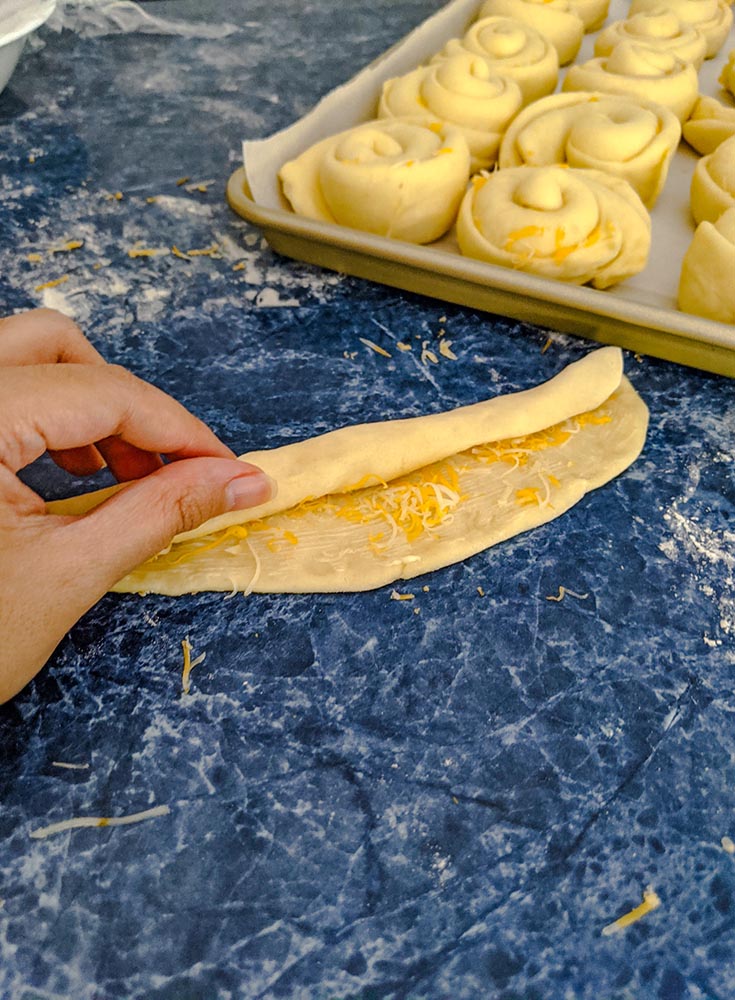
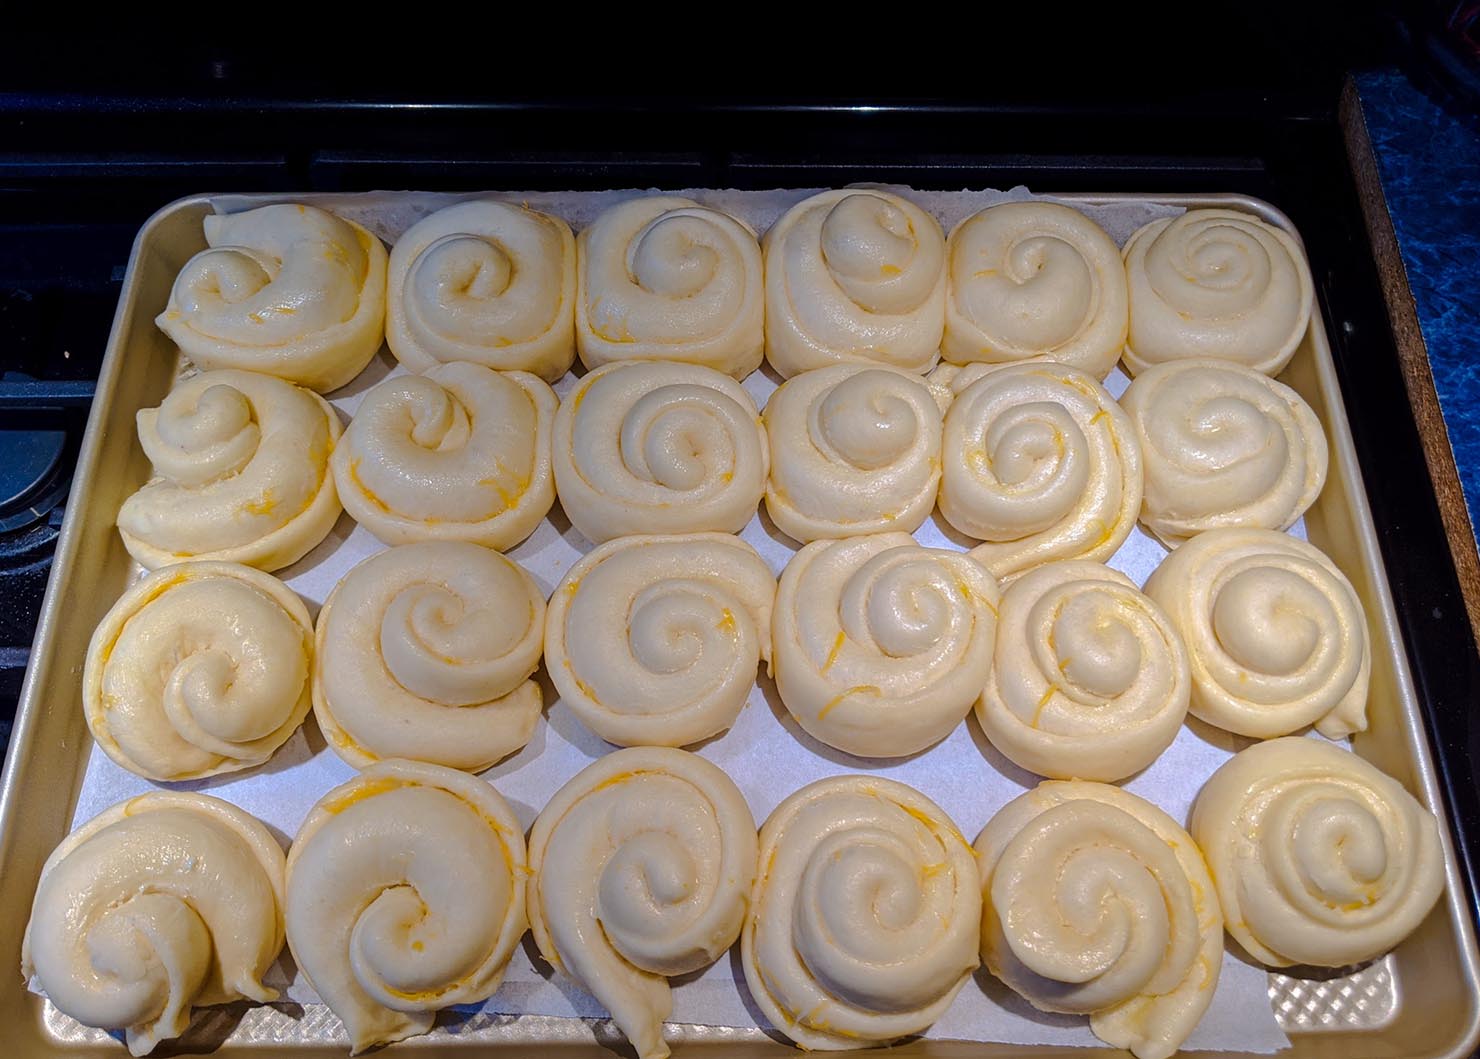
- Take one of the pieces, brush one side with butter and sprinkle with cheese. Roll the dough tightly to create a 6-inch long roll of dough. Pinch the ends to seal. Roll the dough into itself to create a spiral shape. Pinch the end of the roll to create a seal. Place on a baking sheet that is lined parchment paper. Repeat this step for the remaining dough pieces.
- Brush the top of each ensaïmada with melted butter and cover the baking sheet with food wrap. Let rise for at least 30 minutes.
- Preheat the oven to 375 F.
- Once the dough is ready, bake the ensaïmadas for 15 minutes OR until golden brown. Do not over bake otherwise they won’t come out fluffy and airy! Let the ensaïmadas cool until they are cool enough to handle.
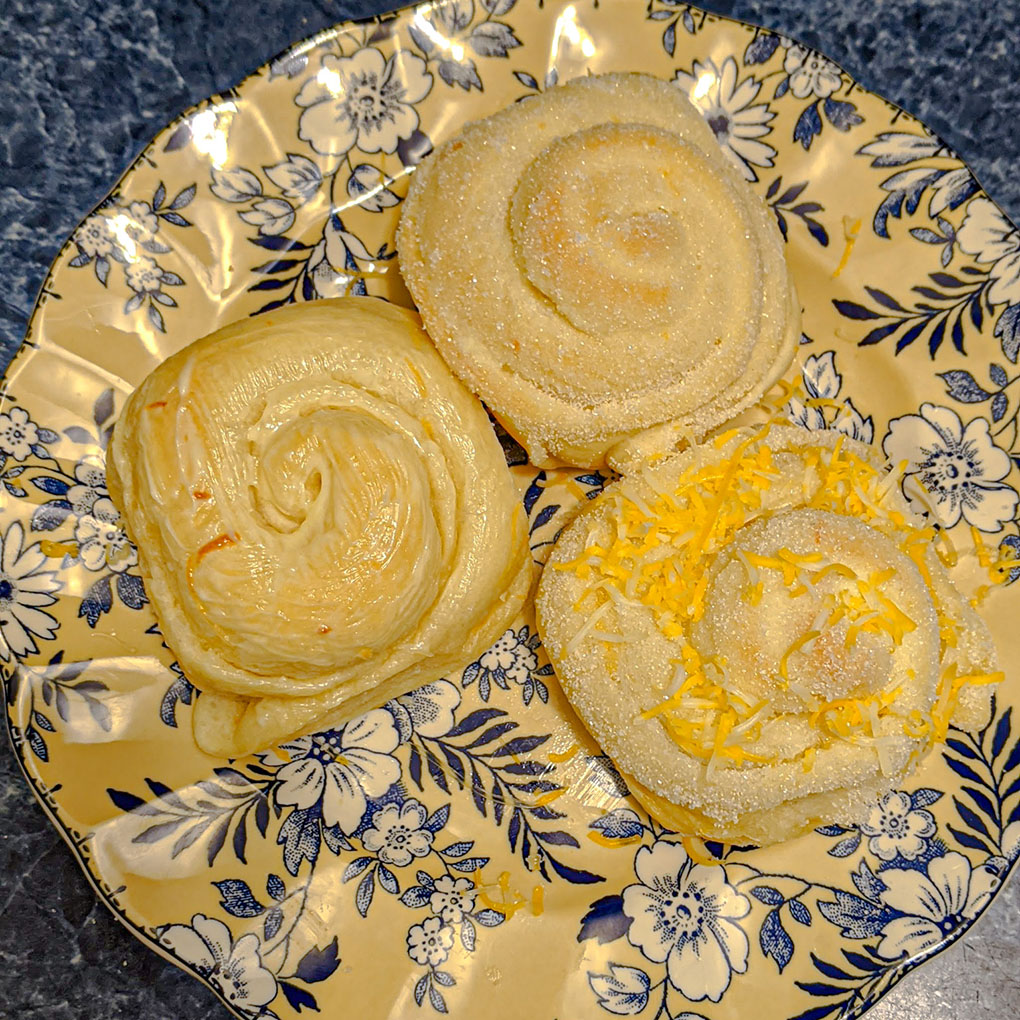
- Once cooled, take a warm ensaïmada and brush the top with melted or room temperature butter. Dip the top of the ensaïmada in a bowl of granulated sugar. Sprinkle with finely grated cheese. Repeat this step for the rest of the batch.
- Serve warm!

Tips and Tricks
When working with yeast, it is best to work in dry and warm conditions like those in the Philippines. To recreate the ideal conditions of my Lola’s kitchen, I preheat my oven to 350 F, right before I start.
I turn the oven off when I leave the dough to rise and place the dough near the oven, to take advantage of the heat. I turn the oven back on when I am halfway through rolling the ensaïmadas into spirals and turn it off when I leave them to rise a second time (again, placing the baking sheet near the oven).
There are molds that can be purchased online to help keep the ensaïmada rolls intact before baking. Alternatively, you can use a muffin tin if your ensaïmadas are falling apart.
Use a weighing scale to evenly divide the dough. To portion control (sorry, Lola!) and to help make each batch last longer, I divide my dough into 24 portions and roll them out to 2 by 3-inch rectangles in Step 9.
*Here’s an example of a filled one — if you’re curious!
Final Thoughts
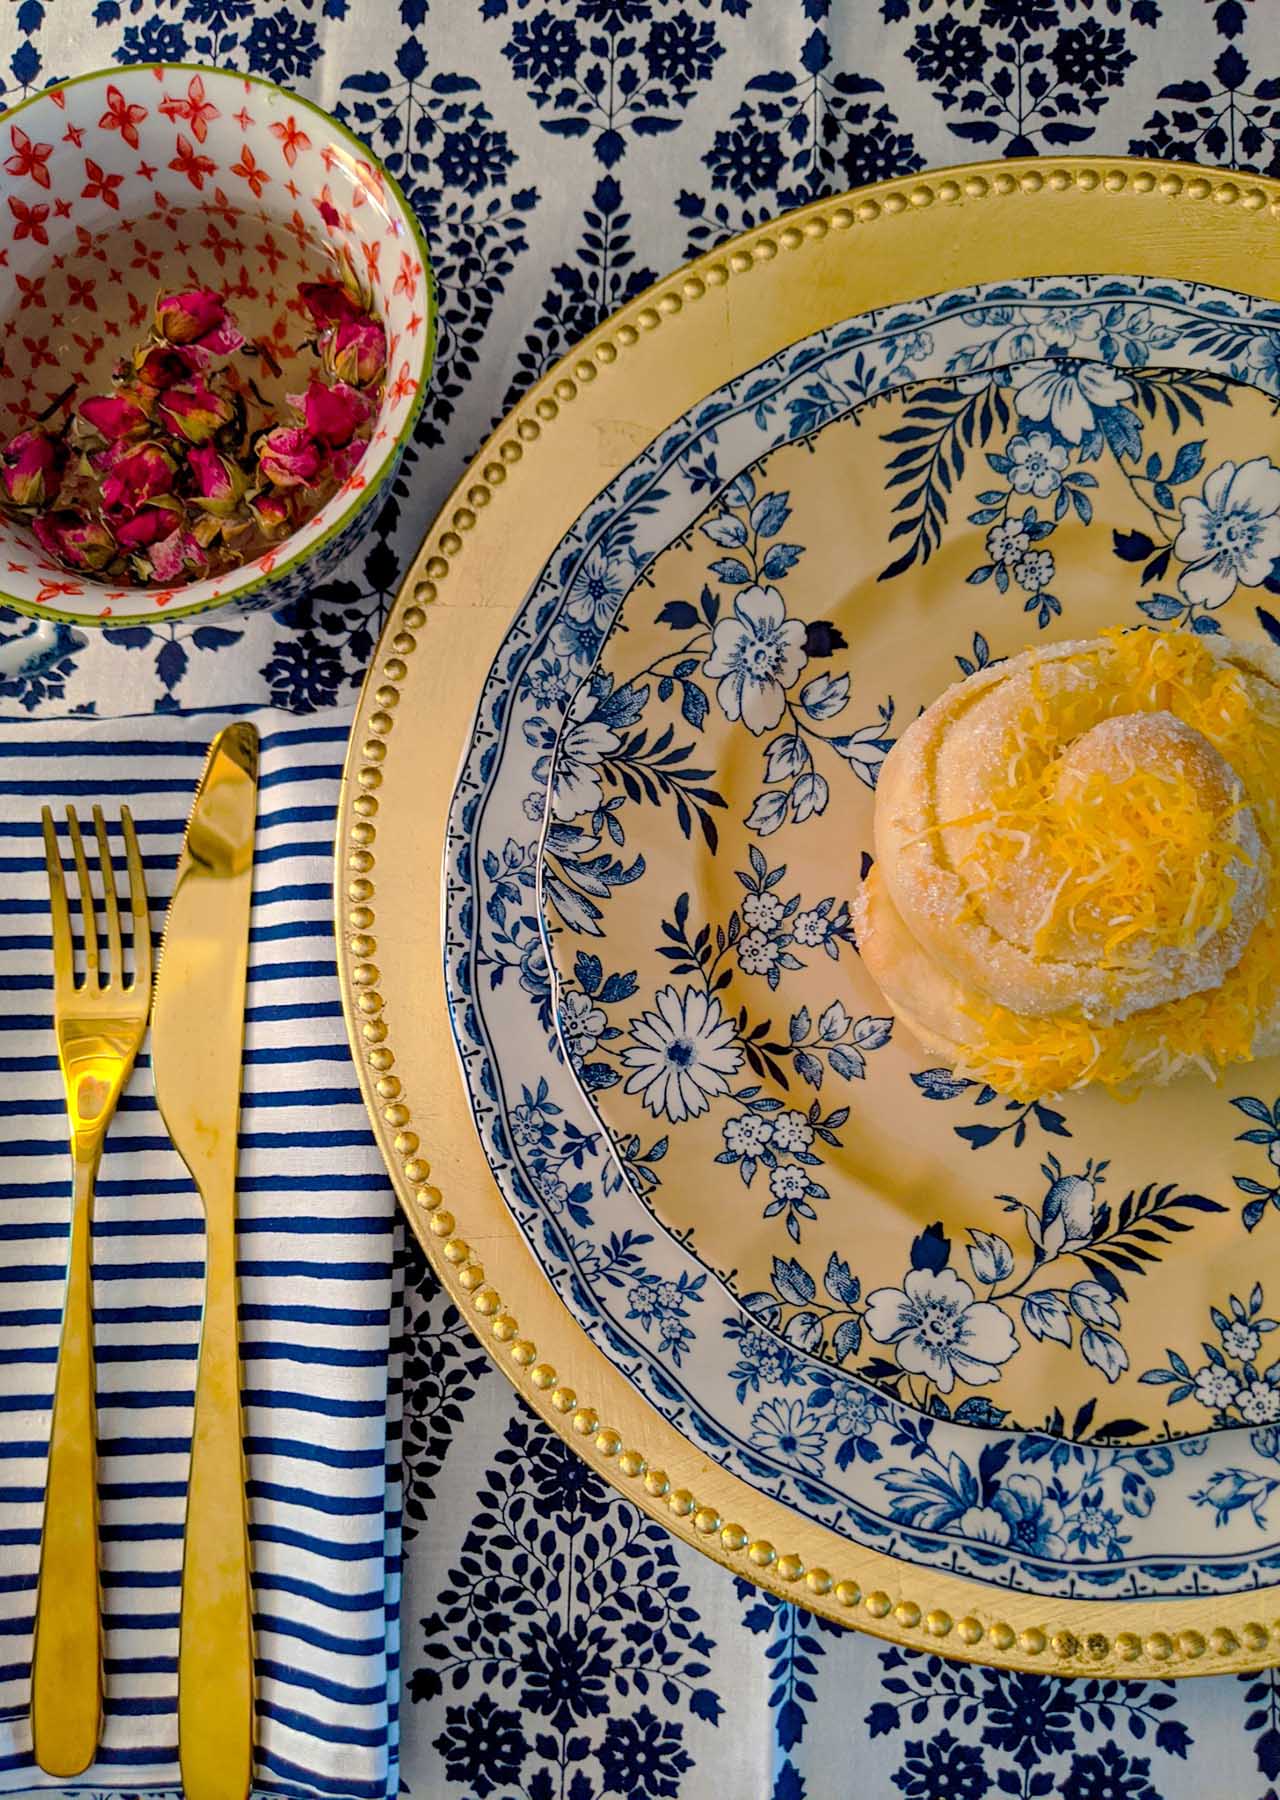
For me, nothing beats an ensaïmada that is fresh out of the oven. One bite is like a warm hug after a long day. I recommend serving it warm from the oven!
To preserve the freshness, I would freeze them in an airtight container. I would then pop the ensaïmadas in the microwave for 40 seconds before serving, no need to defrost.
Want to find other delicious foods from around the world to make? Check out these recipes!







They look so delicious!
Mariya
Doesn’t it look so good? 🙂
Yum, looks amazing! Have a great Sunday x
Love from Anita
Hey Anita! Doesn’t it look soooo tasty? 🙂