
If you follow me on Instagram, you already know that I love travel drone photography—I’ve even dubbed myself “Mother of Drones.” 😉
There really is nothing like an aerial perspective of some of the most beautiful destinations on earth.
Not only do drones allow you to gain a bird’s eye view, but they also make photography and videography while traveling solo so much easier. Though you can definitely get awesome shots as a solo traveler with just a camera (here’s how!), drones take things to the next level.
Not sure where to begin?
I know all of the options for drones and their accompanying gadgets can be quite overwhelming.
Here is my beginner’s guide to travel drone photography!
The Best Drone Gear for Travel
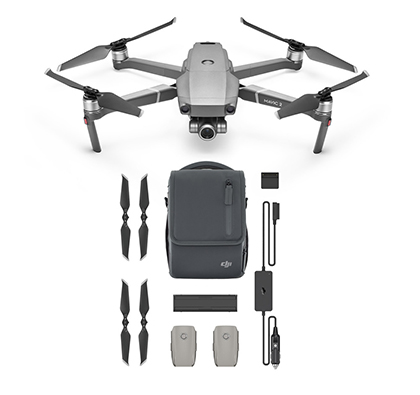
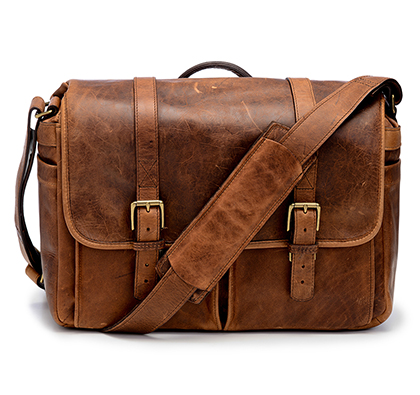
I personally shoot with a Mavic Pro 2 Drone Fly More Combo, polarizing filters, and travel with an Ona messenger bag. The Mavic Pro 2 drone is super compact while still maintaining insane quality photo and video.
Helloooo Hasselblad camera!
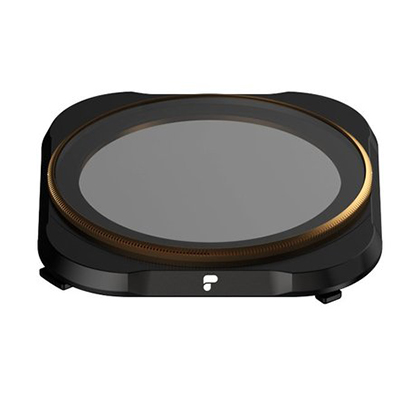
Polarizing filters are also essential to help cut the glare from the sun. If you’re looking for something even smaller (and more budget-friendly), the Mavic Air Fly More Combo is a great option!
I also adore this bag because it fits the drone, remote and extra batteries while still looking super chic.
1. Know Local Drone Laws
Before you go anywhere with your drone, research the rules.
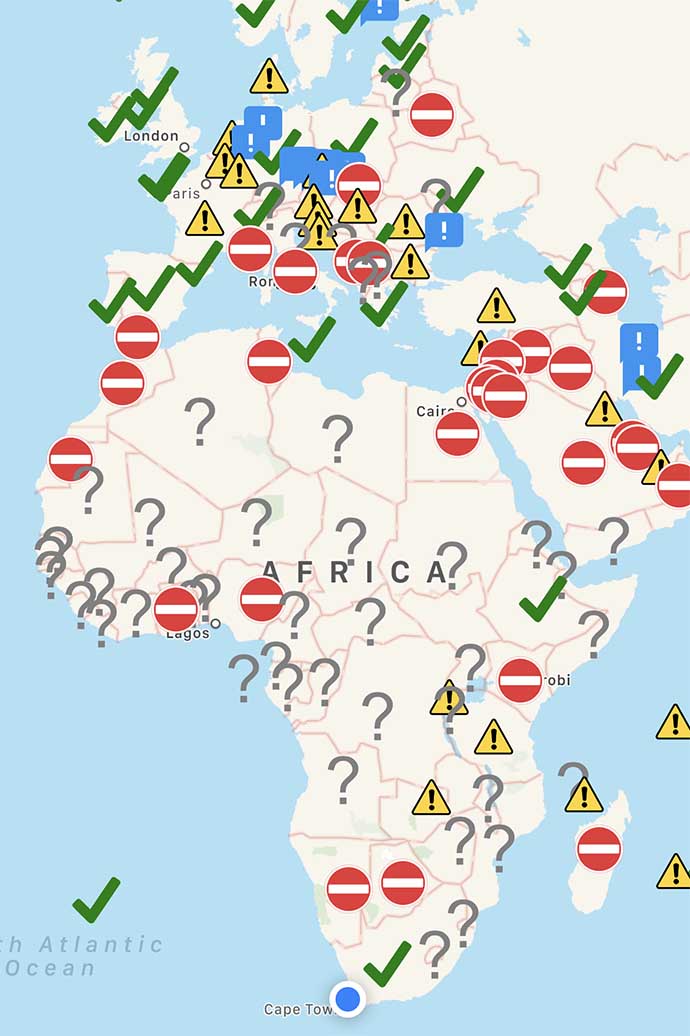
A good starting point to explore international law is the DroneMate app, available for Android and iPhone. It will show you which countries are drone-friendly…and which ones are not.
Even though I wasn’t planning on using my drone in Egypt, I was continuing to the U.S. after my visit—so I packed my drone. Well, I was detained in the Cairo airport and I’ve had my drone confiscated in Belize.
Do as I say, not as I do!
It can be a frustrating and expensive experience!
There are countries where you literally can’t enter with a drone in your suitcase (case in point: Egypt). Even if you have no intention of flying it, you need to know if you’re allowed to bring it—even for a stopover.
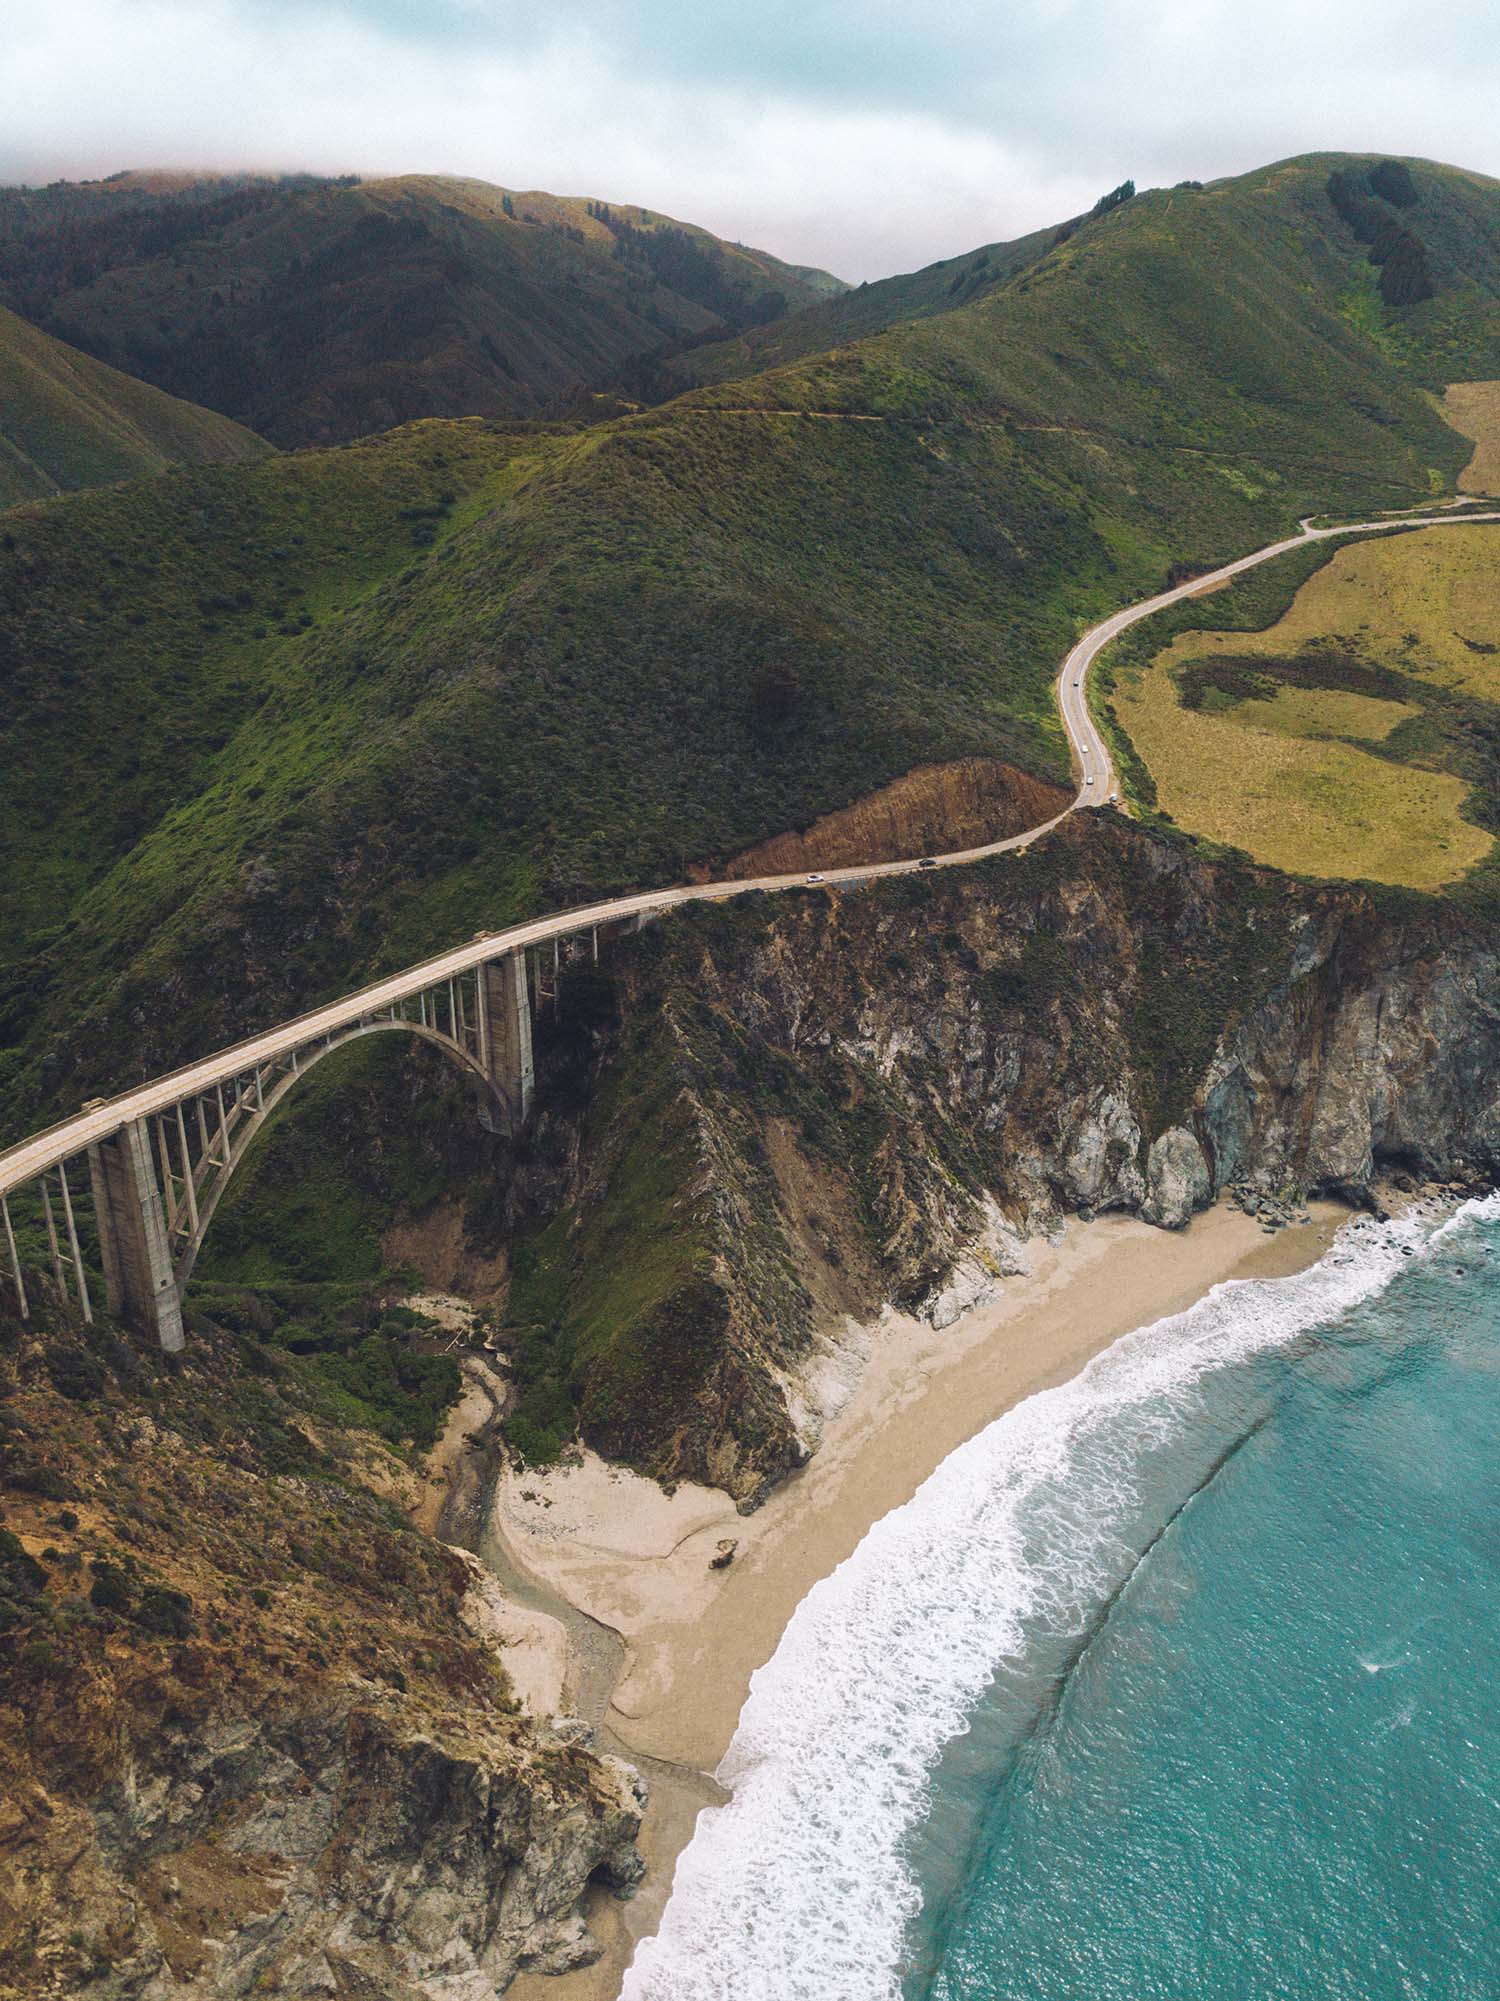
Big Sur, California
2. Helpful Apps for Flying Drones
Another cool app is Drone Buddy. It works in 20 countries, including the U.S. and much of Europe. On top of mapping out no-fly zones, it gives detailed info on wind speed and weather. If you are a bit farther off the grid, you can Google the UAV forecast for your destination.
While there’s no perfect app that covers all drone information, the free DJI Go app works with your Mavic Pro drone and features Intelligent flight modes, live HD view, flight data tracking, and logging.
Helpful Tip:
For good drone photography, you’ll want to know wind speed, the chance of rain, cloud coverage, and visibility.
3. Plan the Lighting
Be aware of overexposure and shadows!
If you’re a photography newbie, there will be a bit of a learning curve—but don’t be intimidated! We all have to start somewhere. It’s important to remember that a nice day out might not be a nice day for drone photography.
For example, a bright and sunny afternoon at the beach can lead to overexposed shots—with all that glorious golden light reflecting off the ocean.
Think about it this way: if it’s a day where you’d probably be grabbing sunnies, your camera is going to need some too (more on polarizers in a minute!).
If you’re at a location type (beach, waterfall, mountains) you’ve never photographed before, check the daylight hours so you can anticipate shadows or high sunlight.
Editing by lifting shadows and reducing highlights in post becomes a lot easier when shooting in RAW format.
Which brings me to tip #4!
4. Shoot in RAW Format
For drone photography, as well as normal manual photography, shooting in RAW format is a must. It will give you much better quality images and makes editing a breeze.
Helpful Tip: RAW format images are typically not “readable” by your iPhone, so you won’t be able to transfer them directly to your phone from the DJI app.
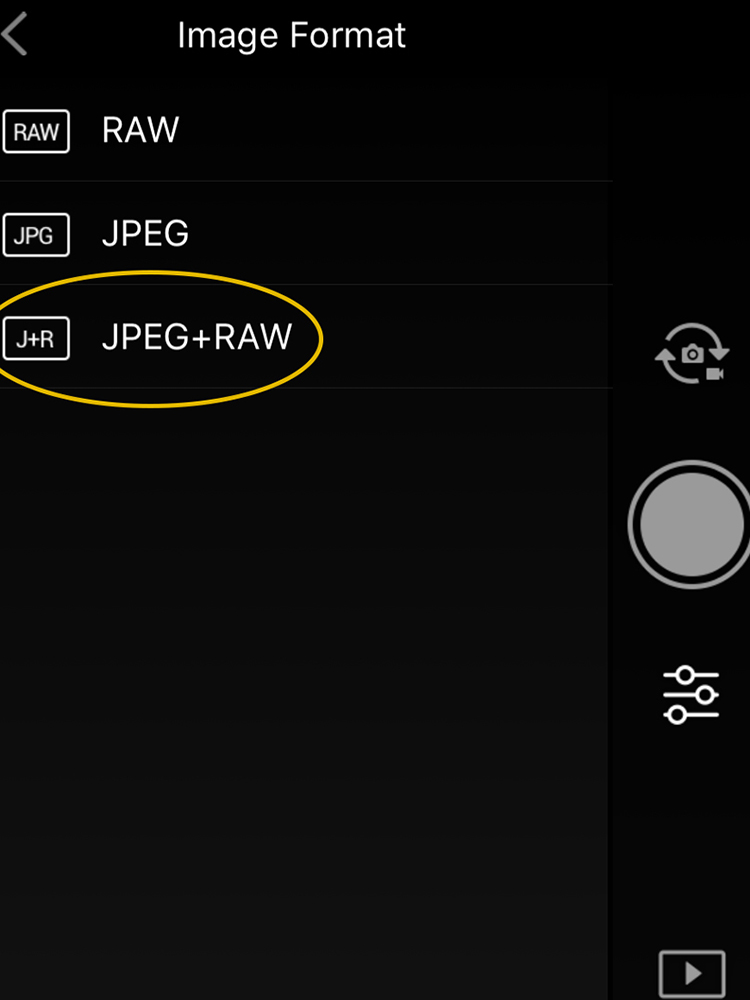
If you tend to share straight away, but also want a high res RAW format image, select “JPEG + RAW” in your drone camera write settings.
Keep in mind this will eat up your SD card memory a lot faster, but it’s worth it!
My Top Photography Tips
Aside from drone photography, I share a ton of photography tips on my blog! Learn what camera equipment I travel with, my tips on solo travel photography and my guide on shooting from your smartphone!
Read More5. Utilize the Rule of Thirds
For composition, it is essential to be able to identify symmetry, patterns, and lines of interest.
If you aren’t familiar with the rule of thirds, check out this helpful video! Using the grid overlay on your display when shooting will make it easier to line up the perfect framing.
Always try to place your subject and scene on lines of interest. Again, it is all about using those same key elements of photography.
6. Quick Camera Setting Tips for Drone Photography
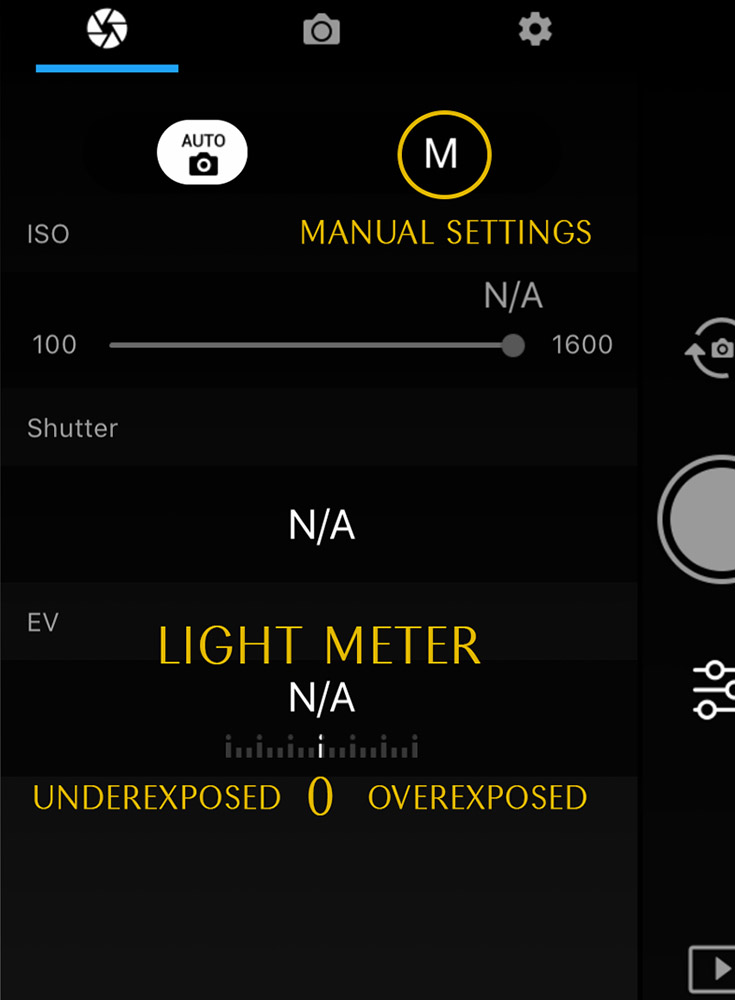
As a new drone photographer, you can start with the auto settings just to get comfortable. However, I have found that DJI products truly shine when you use the manual settings, so I’d suggest getting comfortable switching into those settings ASAP.
When you use the DJI GO 4 app, it’s important to get to know the User Interface and where all the settings are. Here’s a quick guideline to locating all the controls!
ISO: Generally speaking, it’s good to use a lower ISO and use the light meter to determine when you’re properly exposed.
Exposure: Try to aim for ZERO on your light meter (properly exposed). In mixed lighting situations, shooting slightly underexposed makes it easier to edit your photos. You can usually lift shadows, but dropping highlights can sometimes be trickier.
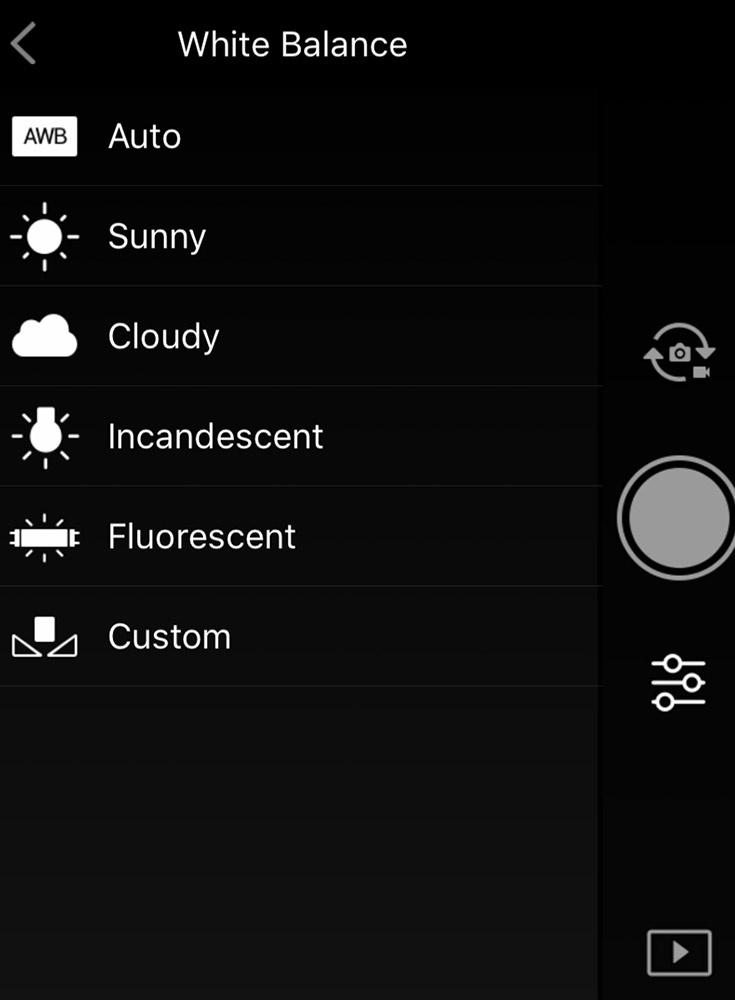
White Balance: This determines how natural, warm or cool your images are. Rather than worry about ALL the manual settings, I’d recommend quickly selecting one of the presets like Sunny, Cloudy, etc… depending on the weather/lighting conditions you are flying in.
7. Go Panoramic
Pano mode is one of the coolest features that I overlooked for a long time. Depending on your model of drone, you should find at least 3 options in the pano setting: 360, Horizontal and Vertical.
While I don’t use 360 or even Horizontal that often, the Vertical Pano is a great feature.
I’ll tell you why!
If you like to shoot vertical for things like Instagram, it’s important to note that the new Mavic Pro 2 doesn’t let you rotate the gimbal. Meaning, you can only shoot in landscape.
The previous Mavic Pro let you rotate the gimbal, giving you a full 16×9 portrait image or 16×9 vertical video (for easy IG story sharing, from a closer distance).
Since you can’t rotate the gimbal on the Mavic Pro 2, you’ll have to fly it farther away to allow more space for a verticle crop if you want a RAW format image. However, you can also use the Vertical Pano setting to capture and stitch together a high res portrait JPEG.
8. Experiment with Different Aspect Ratios & Angles
Portrait? Landscape? High? Low?
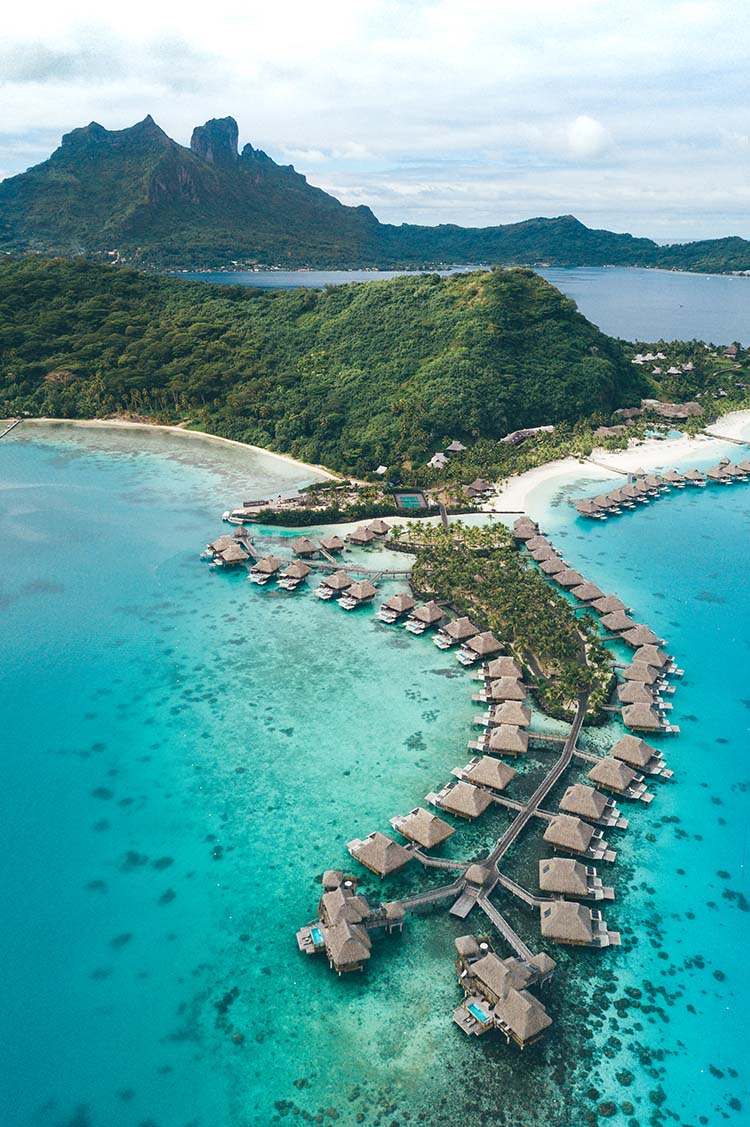
While it’s easy to only shoot in landscape with a drone, get creative and look for vertical and wide framing.
Remember, you can fly farther away to shoot and crop (in RAW format) or use Vertical Pano to stitch a tall high res JPEG. You can also use the 180 Pano for sweeping landscapes!
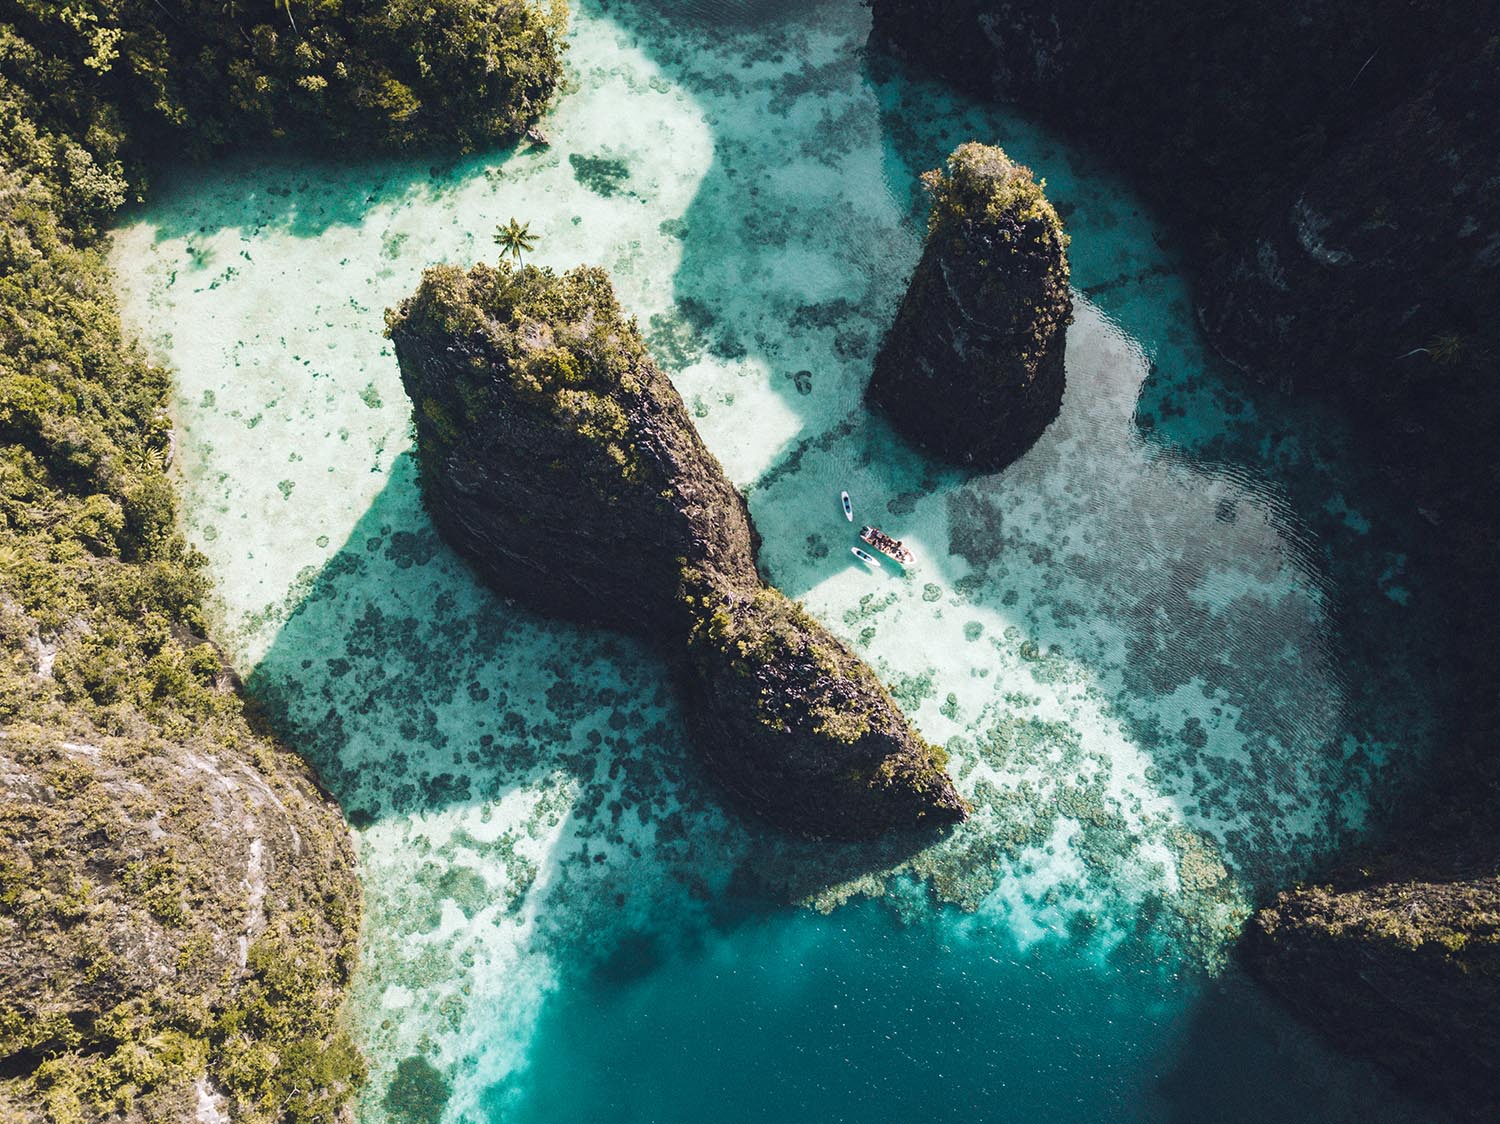
Another quick tip is to not always shoot straight down or think “higher” is better. Tilt the gimbal and experiment with different angles and heights for unique perspectives.
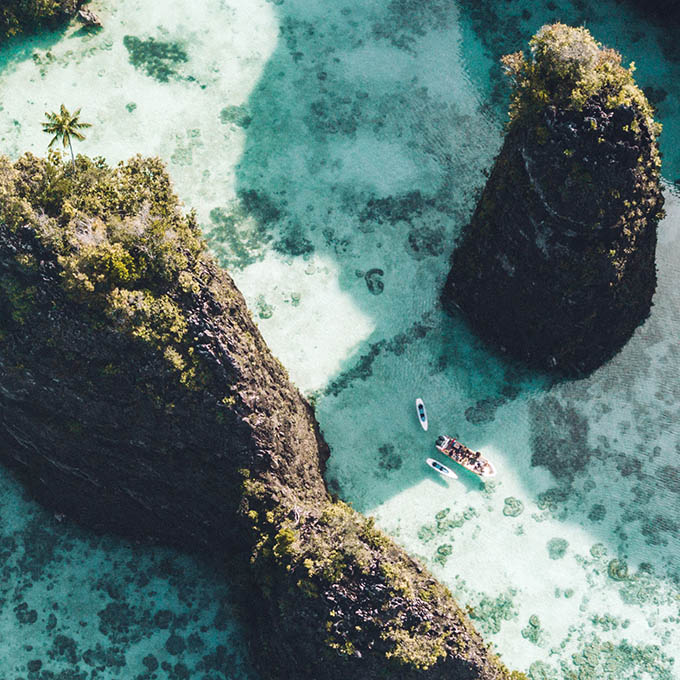
Raja Ampat, Indonesia
9. Use Polarizing Filters
While it is good to plan for the weather as best as you can, it’s essential to have a polarizing filter with you. Polarizing filters help get rid of glare and harsh reflections—just like your polarized sunglasses!
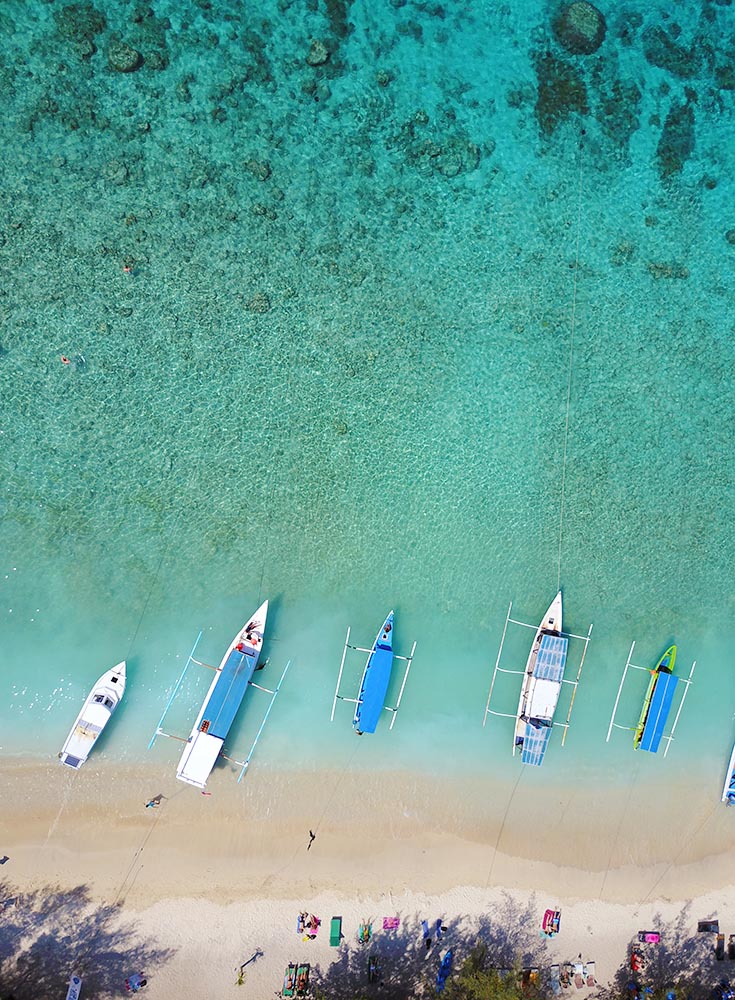
10. My Favorite Features on the Mavic Pro Drone
Everyone has their own style. For me, it is all about the timed shot and hyperlight.
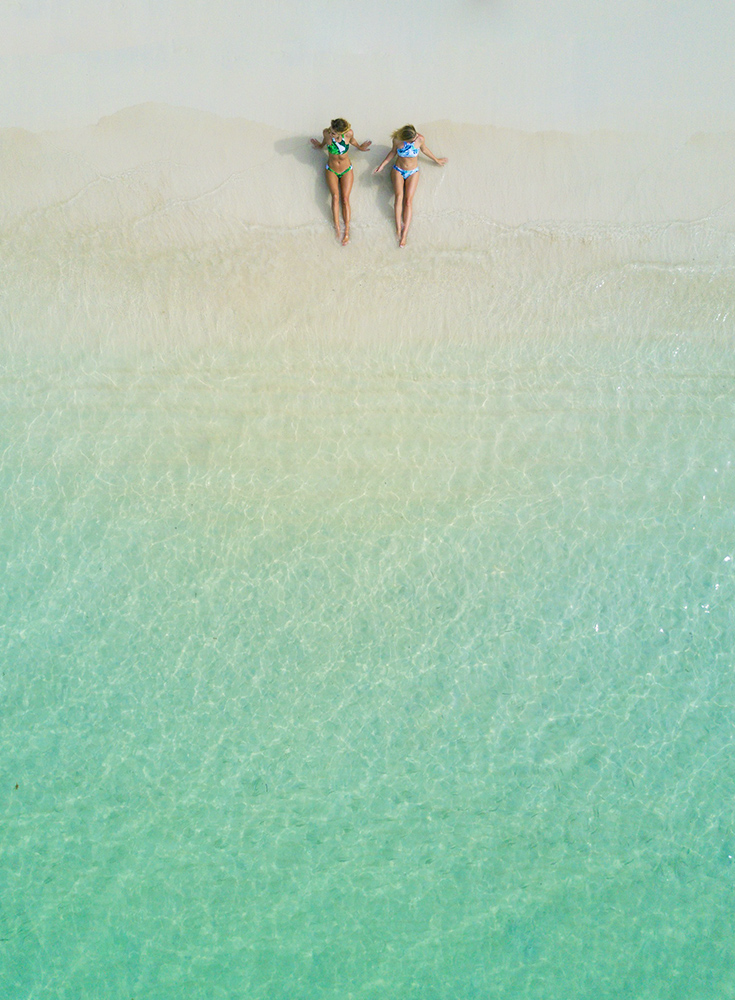
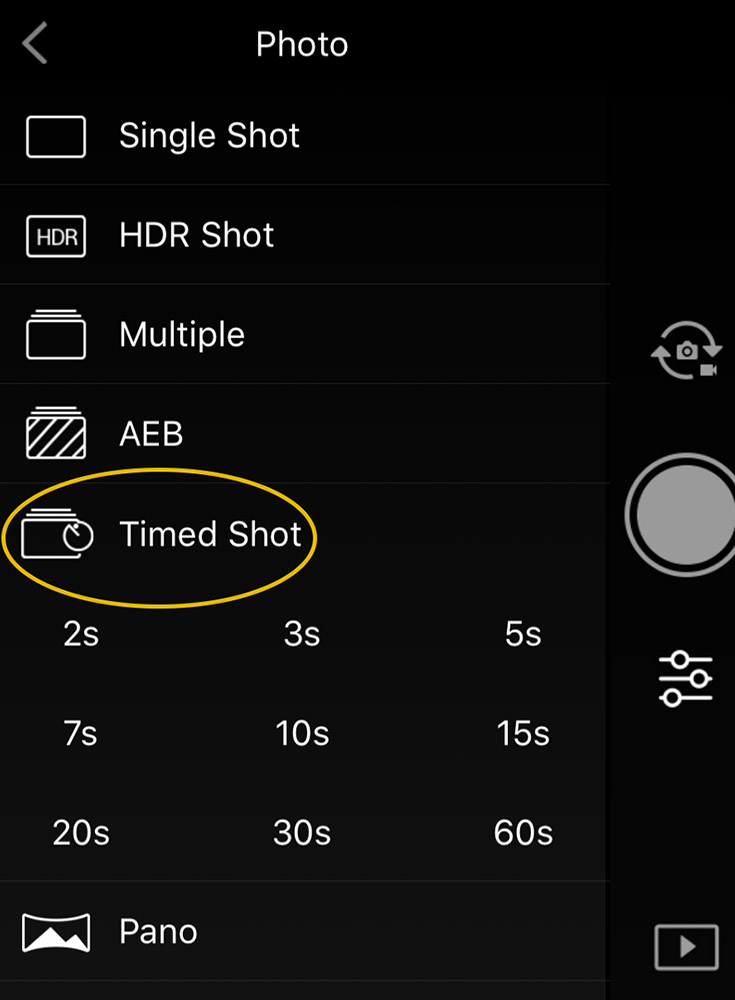
Timed Shot: I use the timed shot to set up my shot and hide the remote from the pic. With the timer interval set, it’ll keep shooting (every X seconds) until you press the shutter again. This will increase your odds of getting the perfect shot. For example, set to 5, your drone will continue to snap a shot every 5 seconds until you want it to stop.
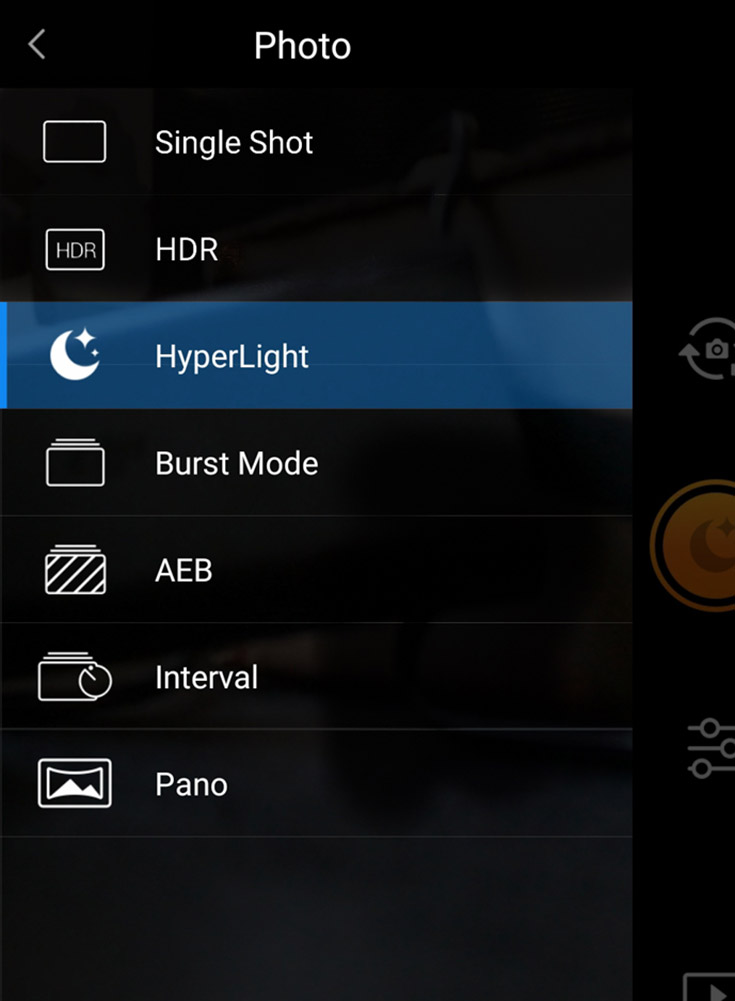
Hyperlight: The Mavic 2 Pro also has hyperlight for night photography and I adore it! This setting creates flawless night shots with just the touch of a button.
Pro Tip for Editing Drone Photos
Want to know my biggest secret to beautiful drone photography? My Lightroom presets! It’s all about finding the right preset to create the mood you’re after.
The Blonde Abroad Lightroom Presets
It's All About the Edit
The secret behind all those beautiful images you see on Instagram? You may be surprised to learn that it’s not all about being a great photographer. The magic is in the edit!
Get the ScoopTBA Takeaways
1. Know the Laws
2. Find Helpful Apps
3. Plan the Lighting
4. Shoot in RAW
5. Utilize the Rule of Thirds
6. Get Familiar with Camera Settings
7. Go Panoramic
8. Experiment with Aspect Ratio + Angles
9. Use Polarizing Filters
10. Discover Your Own Fav Features
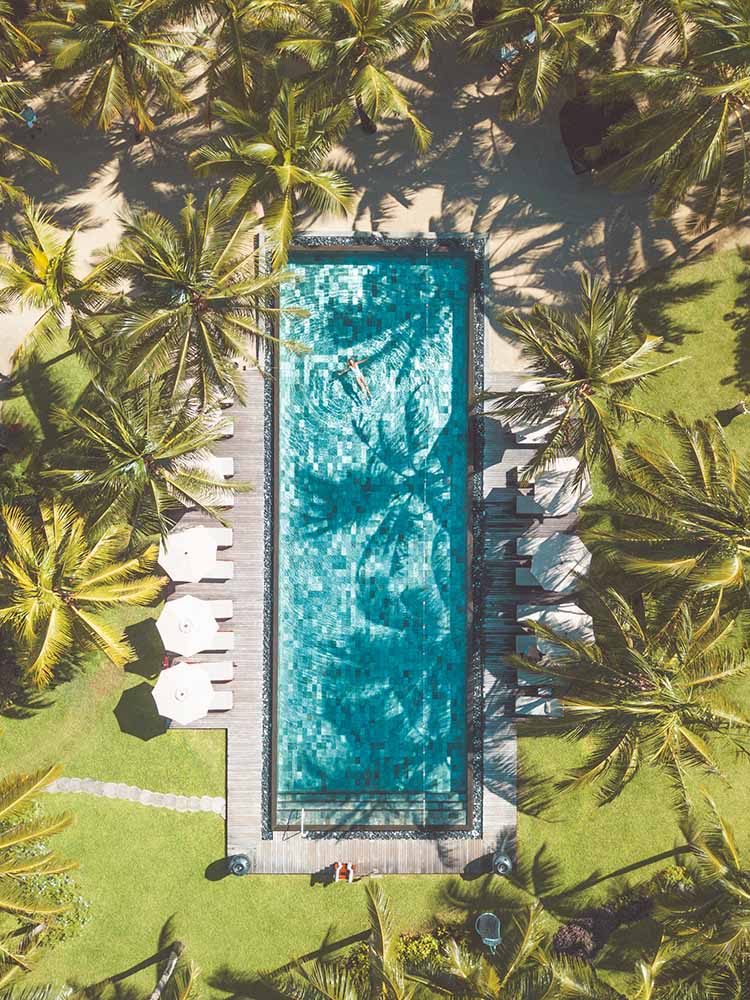







I took my drone on vacation and got to use it twice lol.
Mainly due to restrictions in areas and heavy wind.
Lots of restricted places, especially for someone who travels to national parks a lot which is federal land